Wednesday, 8 February 2023

The Ultimate Guide to Cleaning Your Windows

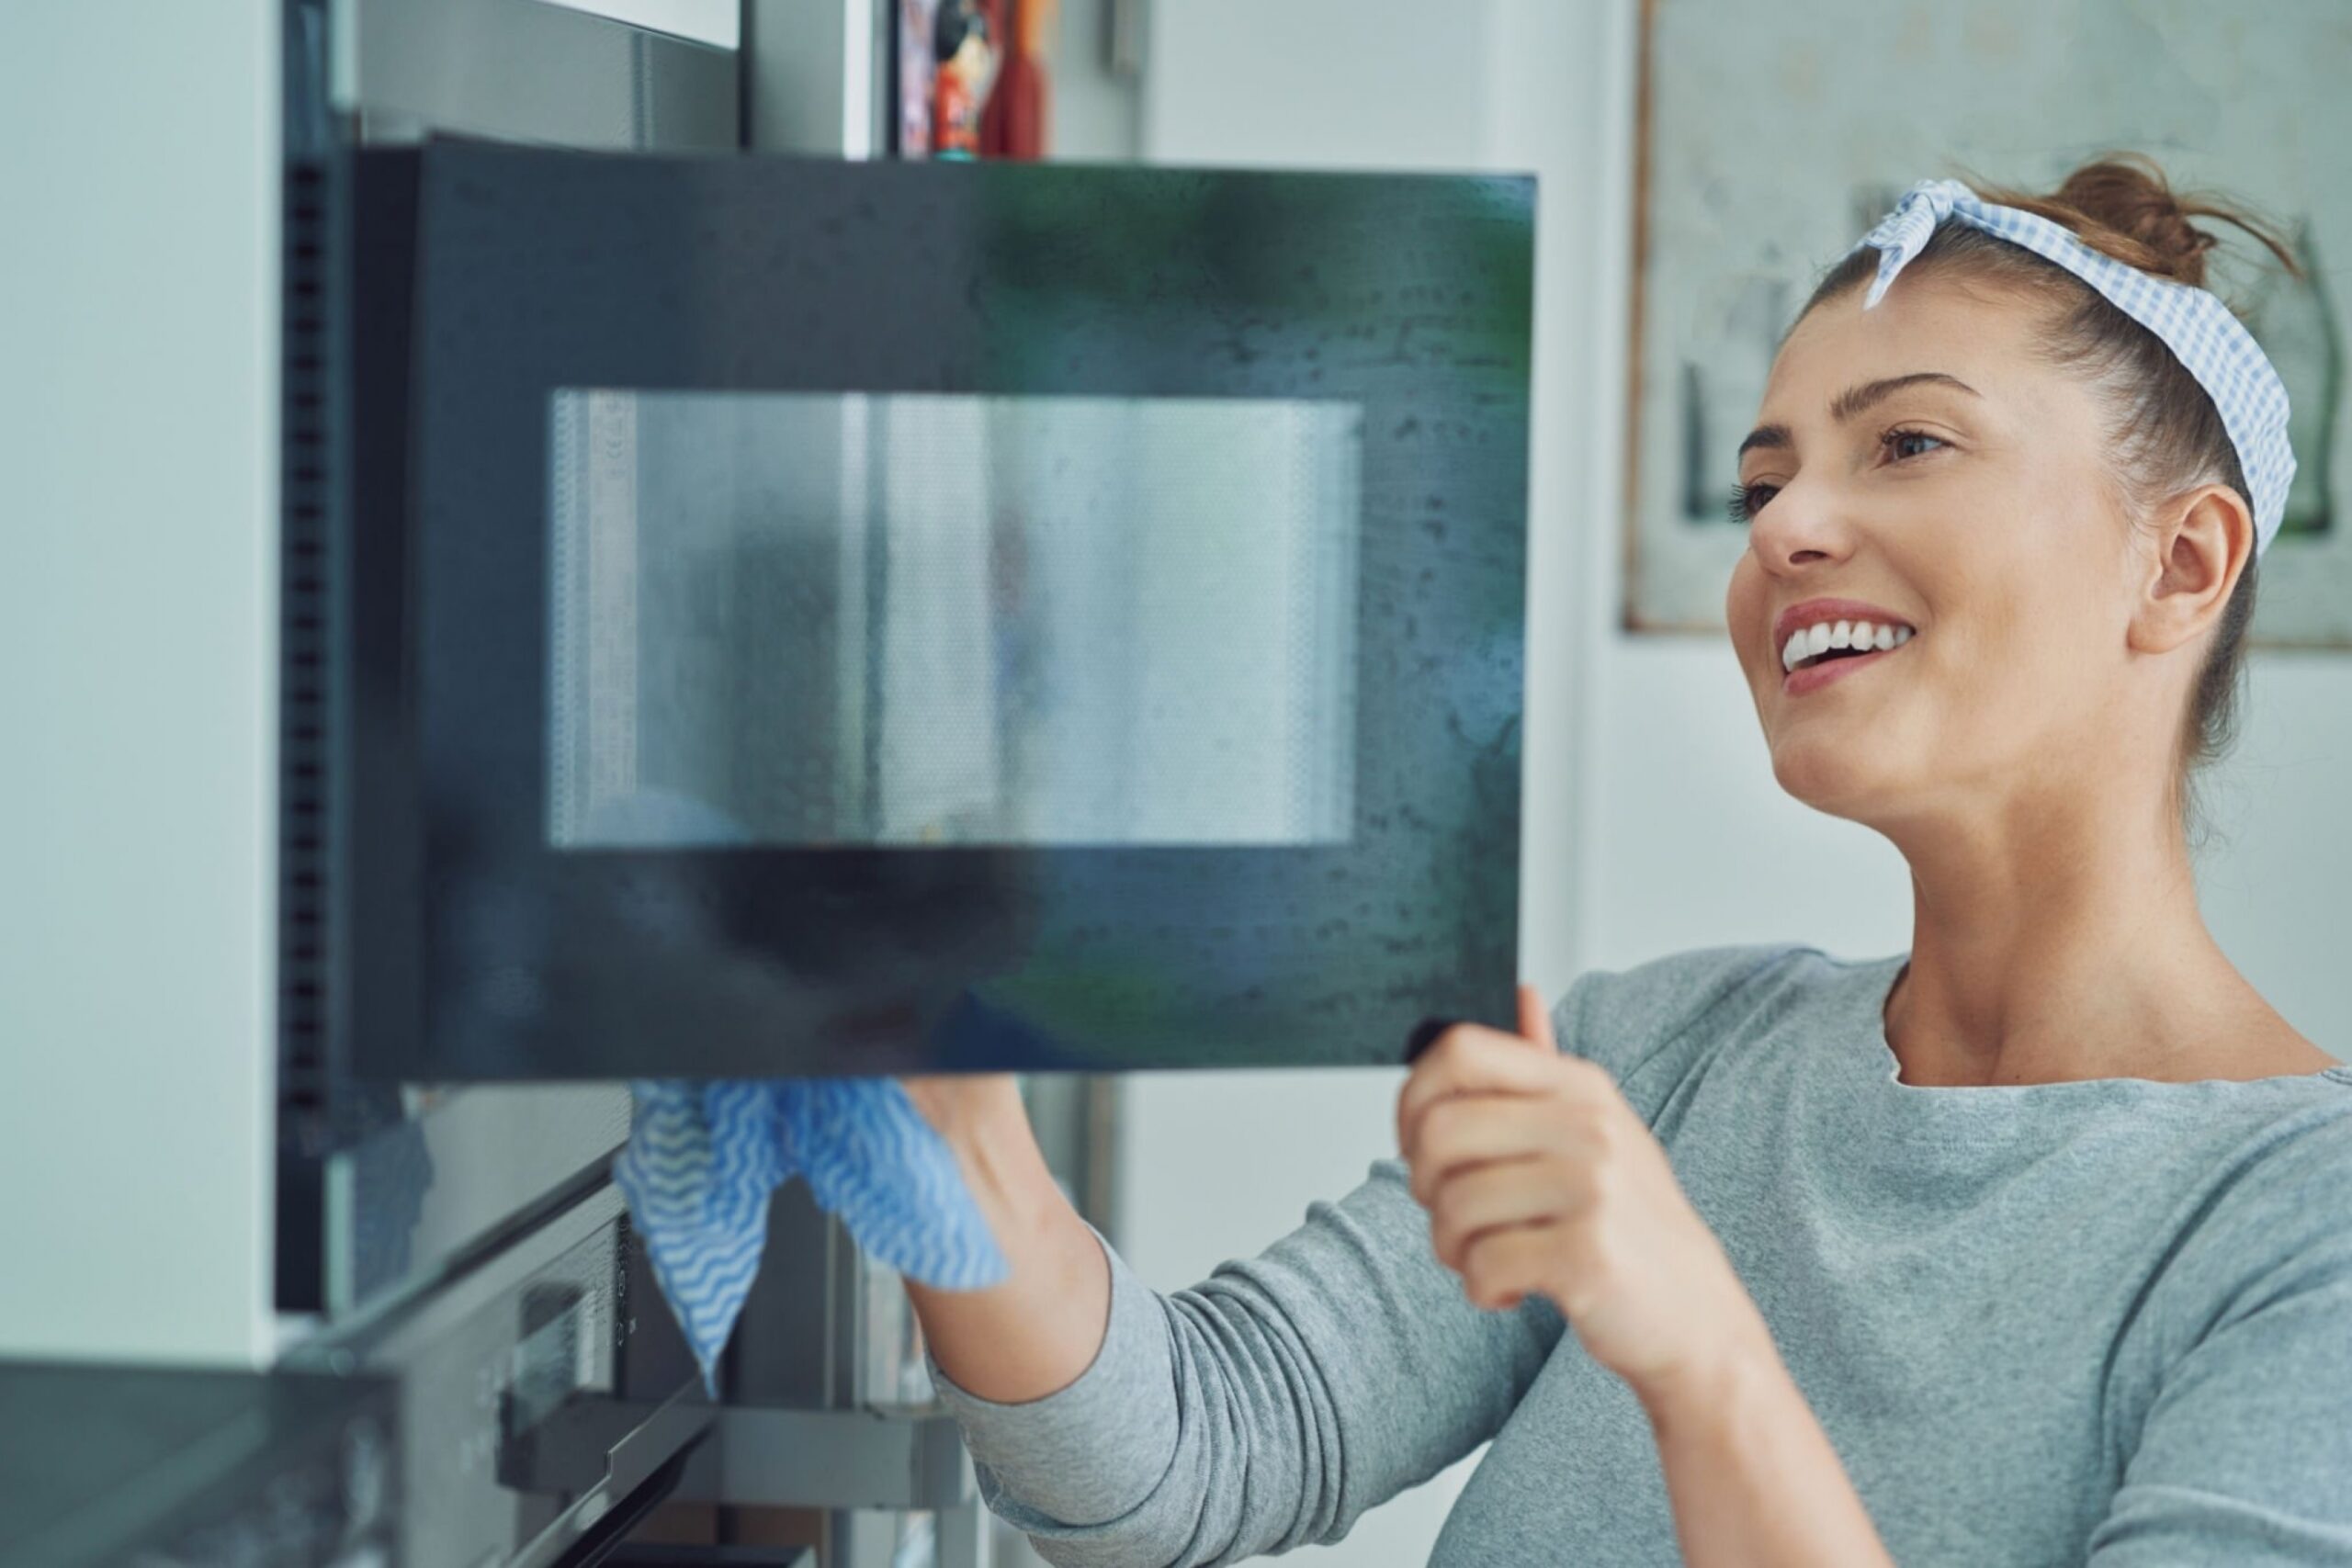
Cleaning windows can be a struggle, especially when it’s time to finally clean the outside. We know window cleaning is almost nobody’s favorite chore, but there’s no reason it should be more complicated than it is. To help keep window cleaning simple, here is our guide to cleaning your home’s windows, inside and out, like a professional.

Get the Windows Ready for Cleaning


Modern domestic kitchen with succulent plants, herbs and roses on window sill


Before you start, you should ensure you and your home are prepped and ready for cleaning. Since you’ll be using cleaning products and water, you’ll need to protect the areas around your windows. Here are a few things to keep in mind when prepping:

  • Lay a towel down under the window you’ll be focusing on, and make sure you have a few extras on hand just in case.
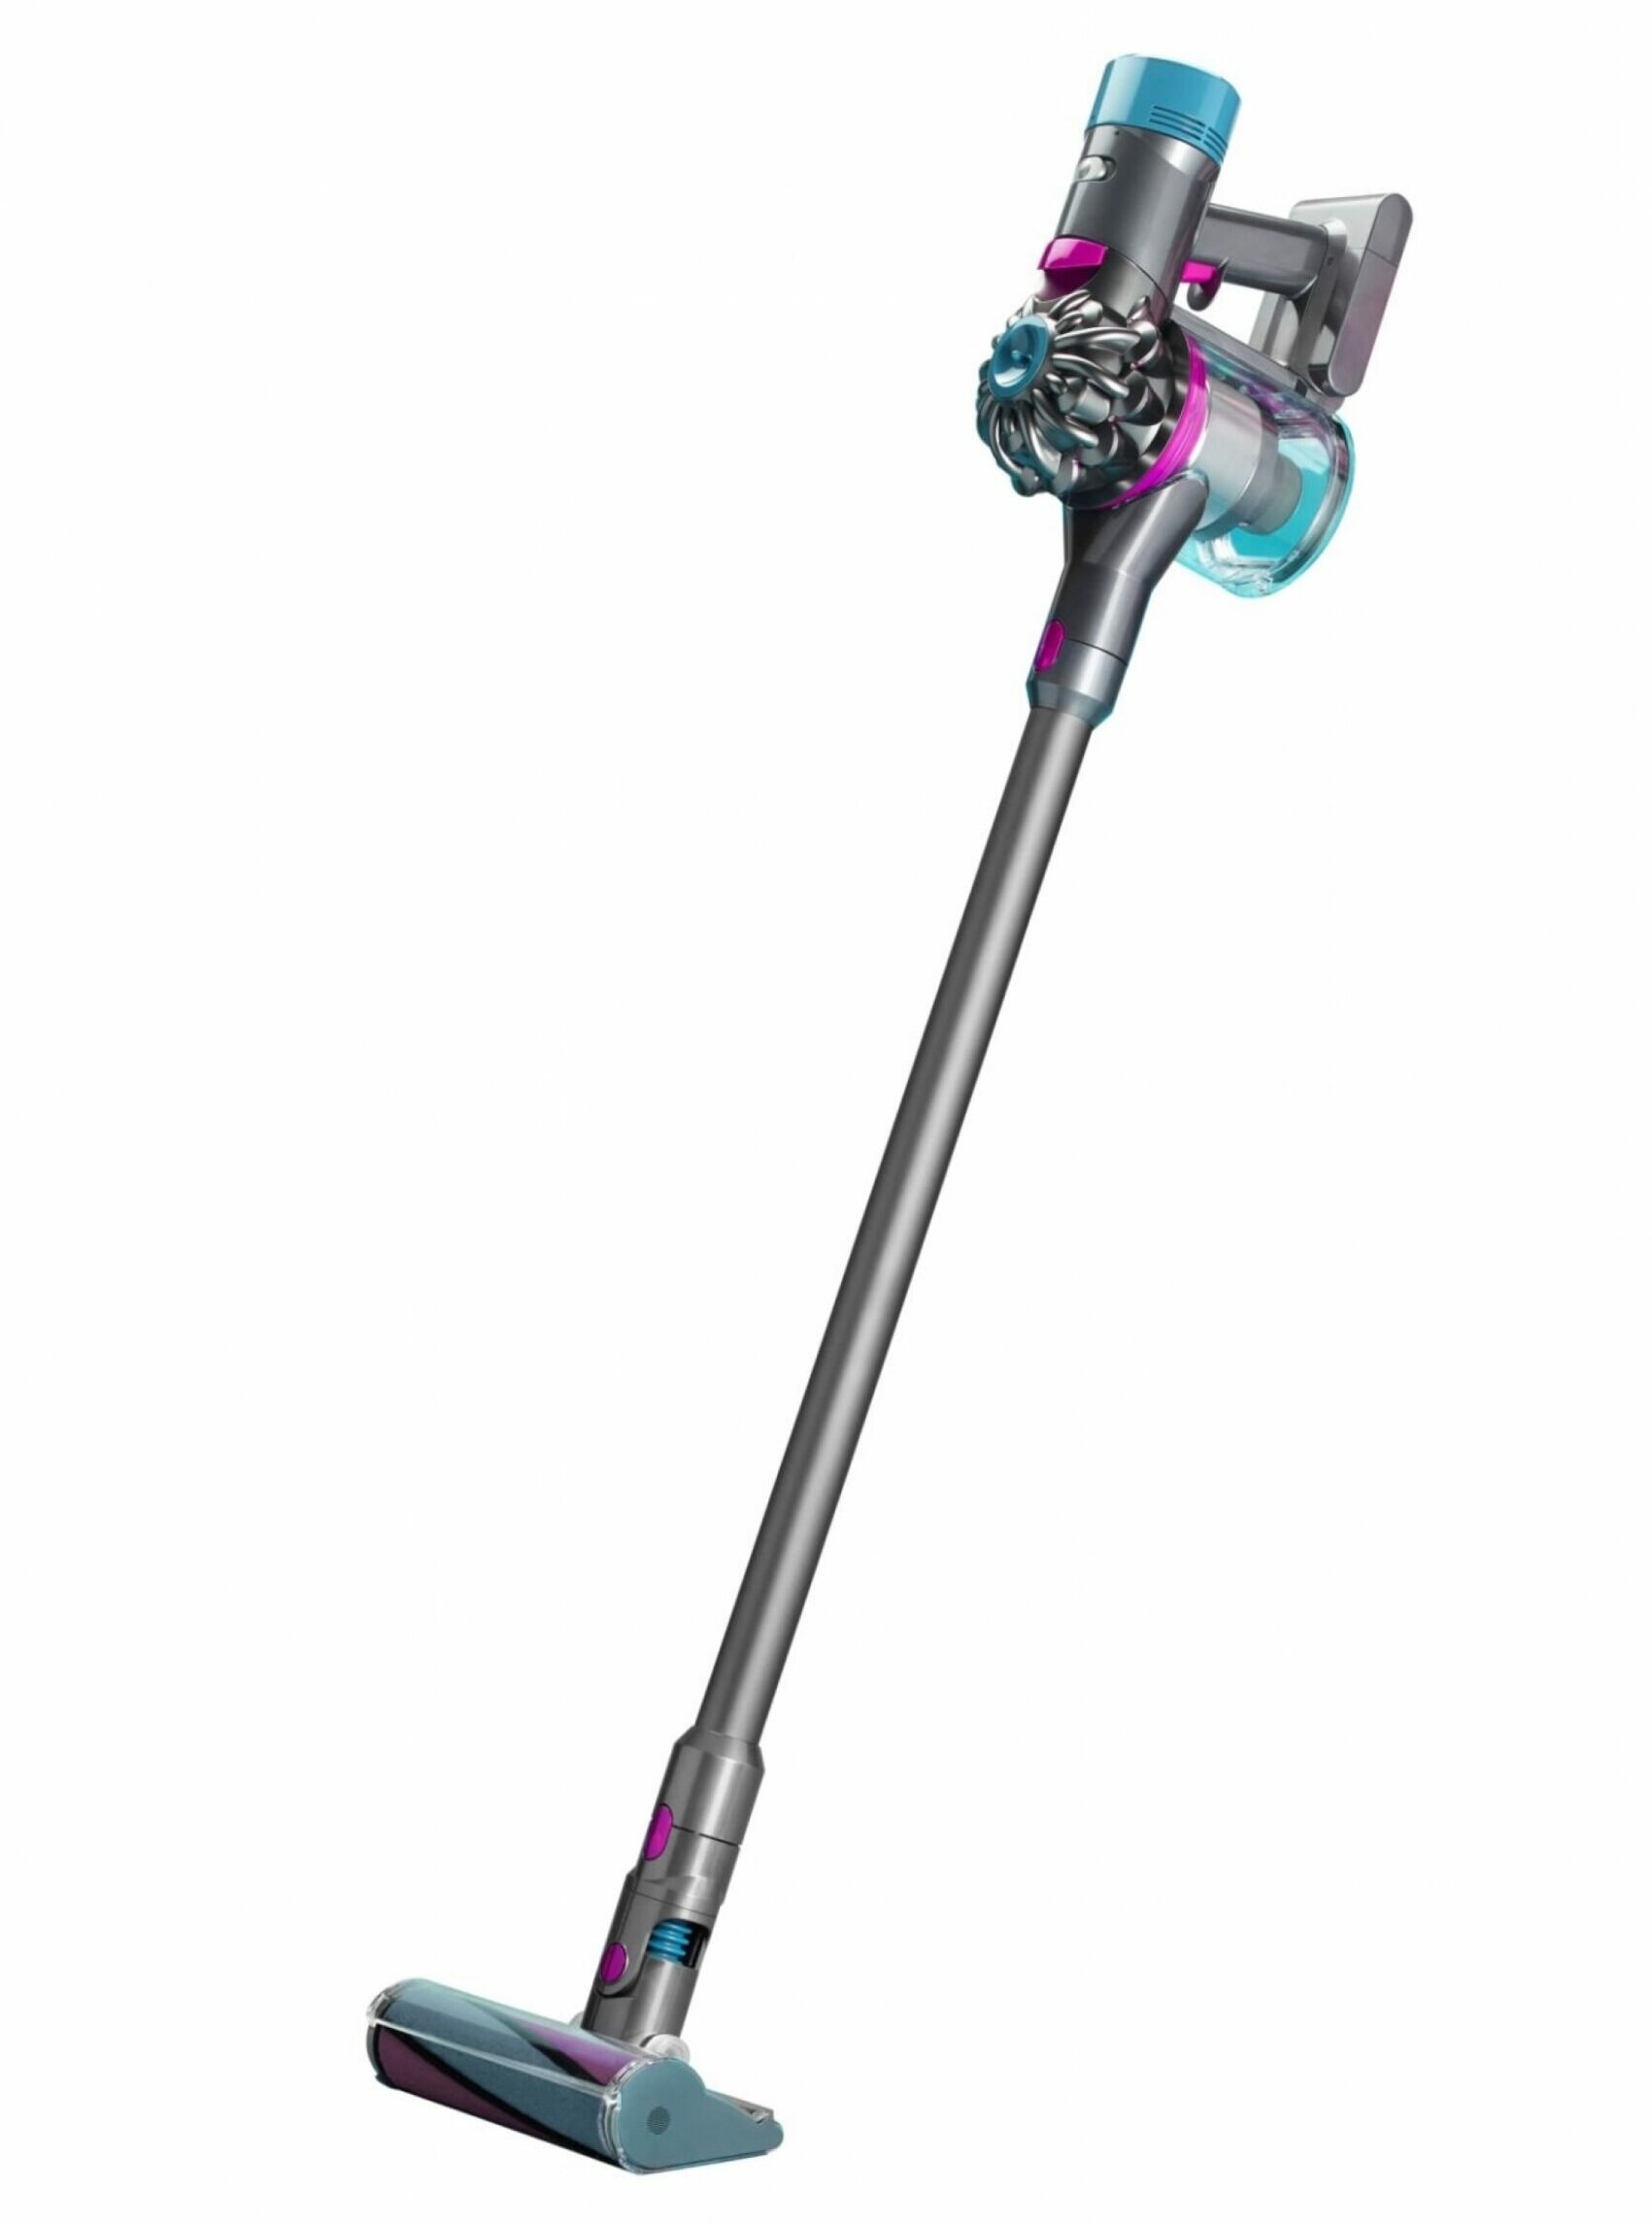
  • Remove any dust and loose debris from around the windows with a vacuum or by wiping down the area with a damp cloth.
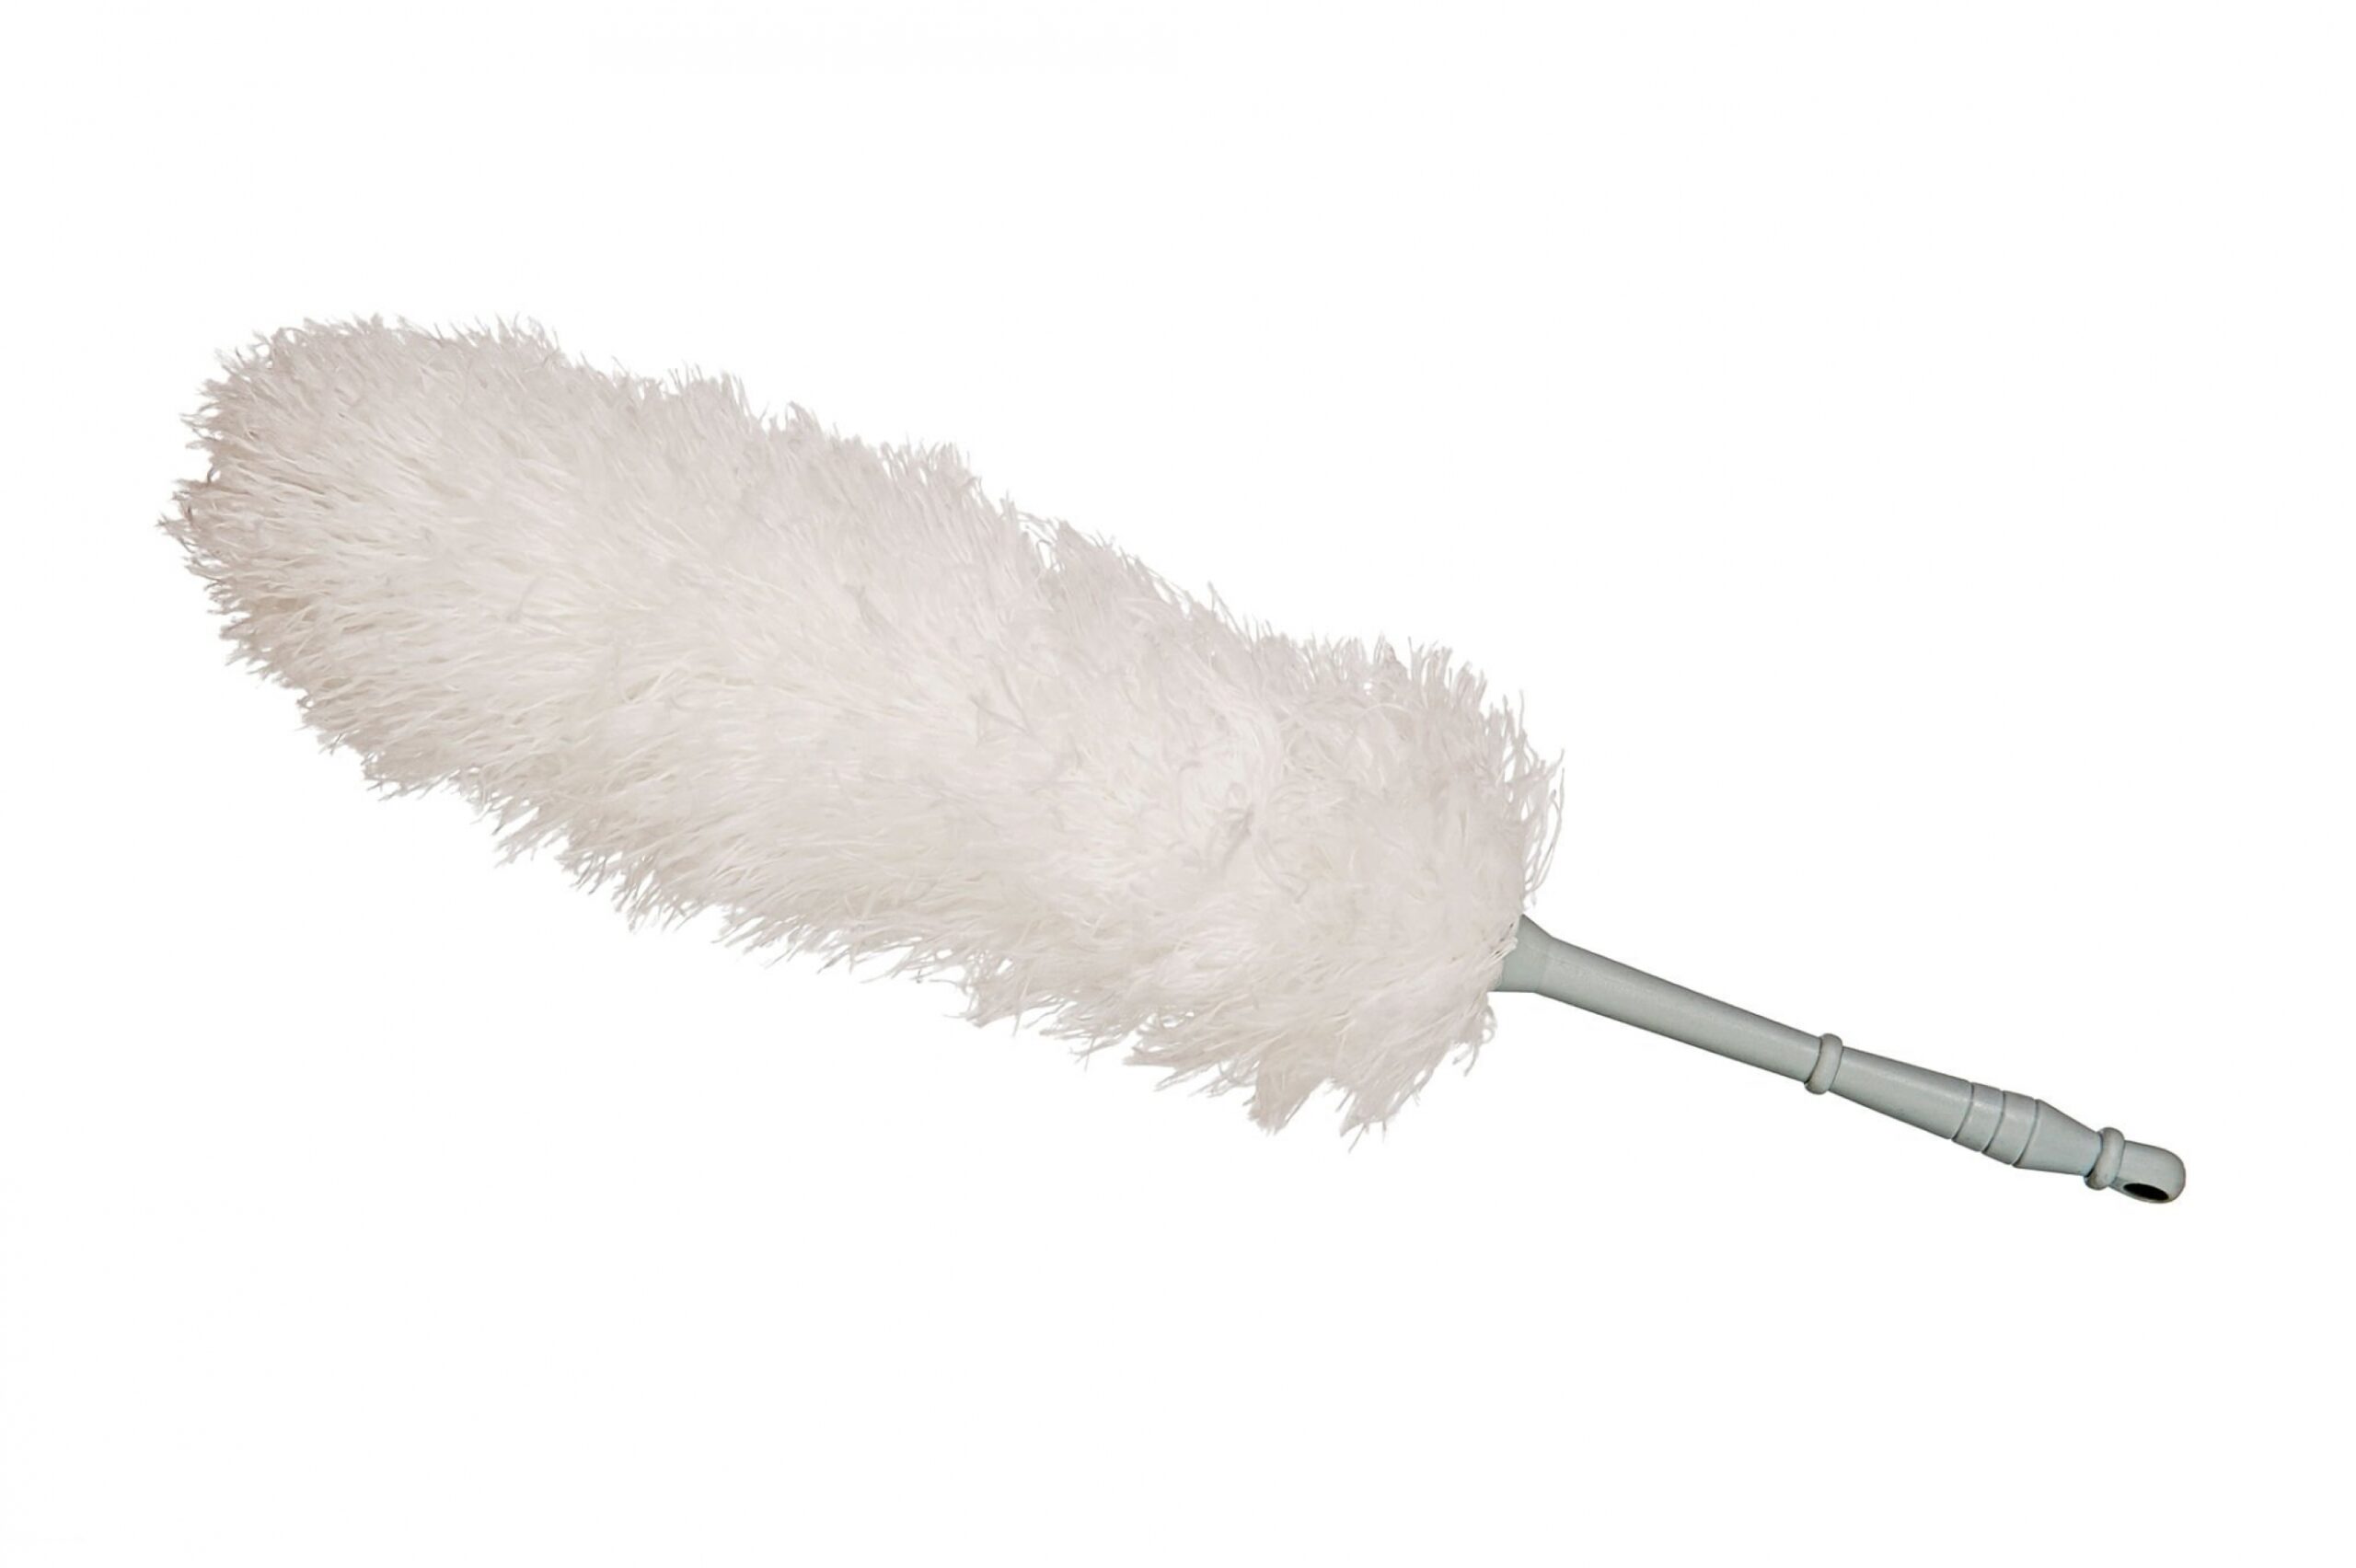
  • Pull up any blinds on the windows and give those a good dusting to keep them from redistributing debris on the newly cleaned windows later.
  • Move any curtains out of the way. Shake them out outside and maybe toss them in the wash or a quick tumble in the dryer if they are fabric.
  • If your windows have removable screens, you’ll want to get those out of the way. Make sure to label them so that you can put them back correctly. It could also be a good idea to rinse the
  • screens with a hose and allow them to dry in the open air before replacing them.
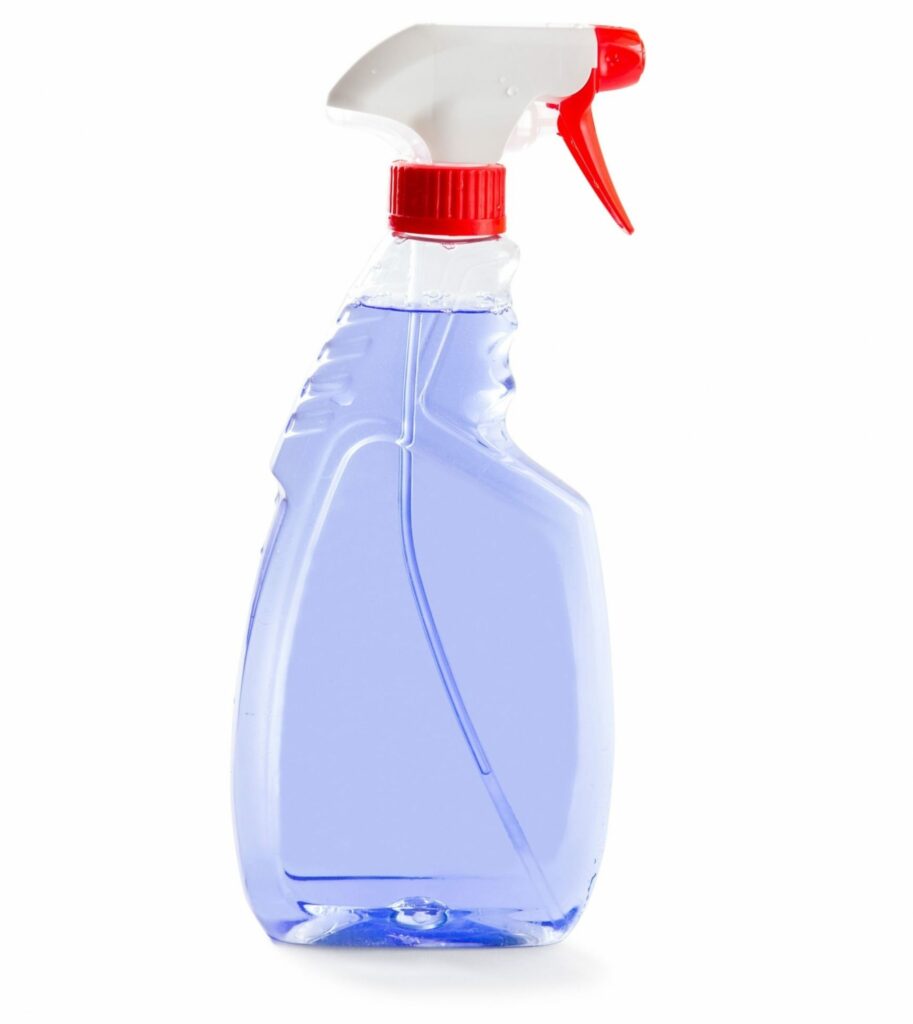
  • Have all your cleaning supplies ready. You’ll need: Microfiber cloths (Note: We don’t recommend paper towels or newspapers as these are more likely to leave streaks, haze, and lint on the glass.), a squeegee, a spray bottle, glass cleaner or cleaning solution of choice and water.


DIY Window Cleaner


If you’ve tried just about every glass cleaning product available and haven’t found one that works, you most likely have the solution at your fingertips. Here are some of our favorite DIY window and glass cleaning solutions:


1. Vinegar

This method is our best recommendation, and it’s super simple! All you’ll need is white distilled vinegar and some water, plus your spray bottle. In the spray bottle, combine 1 part vinegar with 2 parts water and then shake it gently to mix it together. The acidity of the vinegar is what makes this so effective as a glass cleaner, plus it can kill bacteria and cut through tough grime. We told you this method was easy!


2. Lemon Juice


Lemon squeezer and lemon juice on kitchen table.


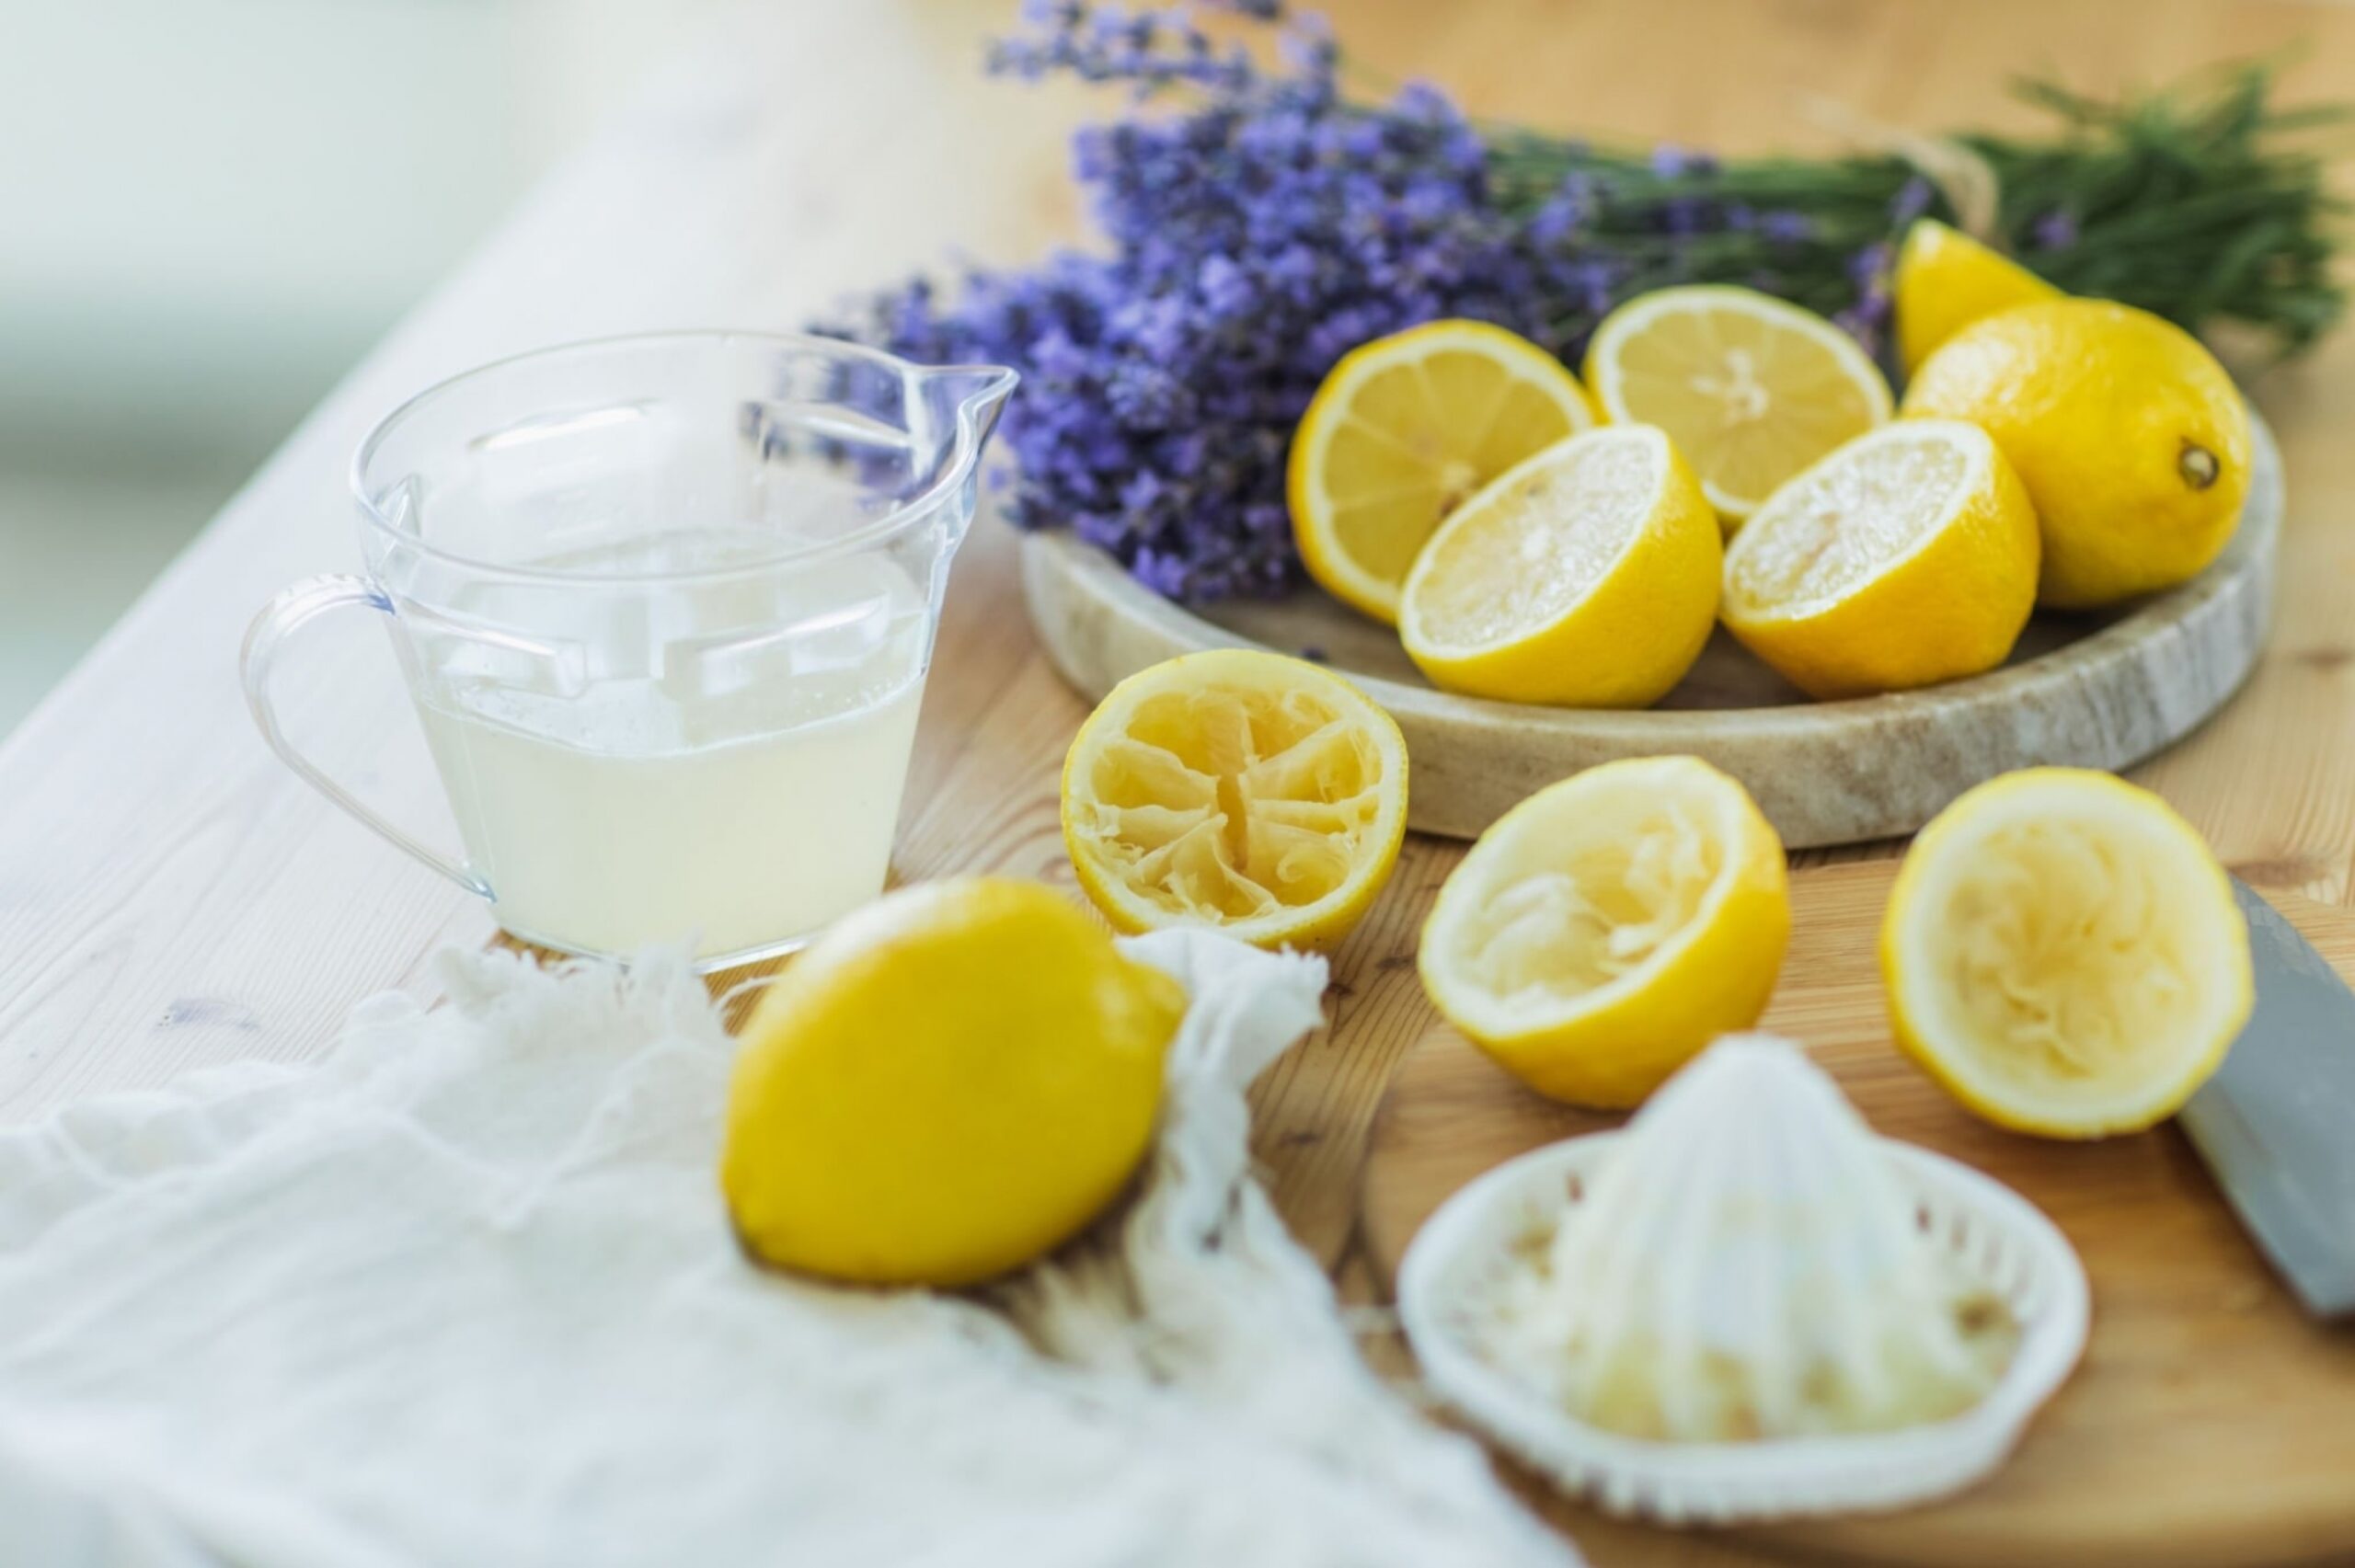
If you don’t like using (or smelling) vinegar around the house, that’s okay. We know vinegar can be pretty strong and harsh on the nose, so here’s your solution. All you have to do for this DIY method is replace vinegar from the previous recipe with lemon juice. The acidity of the lemon juice is a bit stronger than vinegar, but it is just as effective and definitely smells better. Who doesn’t appreciate their home smelling lemony-fresh after cleaning?


3. Dish Soap

There are a few ways you can incorporate dish soap into DIY cleaning solutions. You can easily use it on its own by adding a few drops to some clean water, giving you an effective window cleaner. Another effective way to use dish soap is by adding a drop or two to either of the previous recipes for a pretty powerful cleaning boost.


4. Tea Tree Essential Oil

Another way to combat the scent of chemicals or vinegar is by adding essential oils to your DIY recipes. Our favorite essential oil to use is tea tree because not only does it smell amazing, but it also fights against bacteria and helps prevent mold growth. You only need to add a few drops to your DIY cleaner to see the difference, so we suggest using essential oil with our favorite vinegar method for the ultimate cleaning solution.


Cleaning Inside


Man washing Window


Now that you have the area around your windows protected and your supplies at the ready, you can get started with the cleaning process from inside. Here is our quick guide to cleaning the interior of your windows like a pro:

  • Make sure you have wiped down the windows and window panes with a wet cloth to remove any loose dust and debris from the surface.
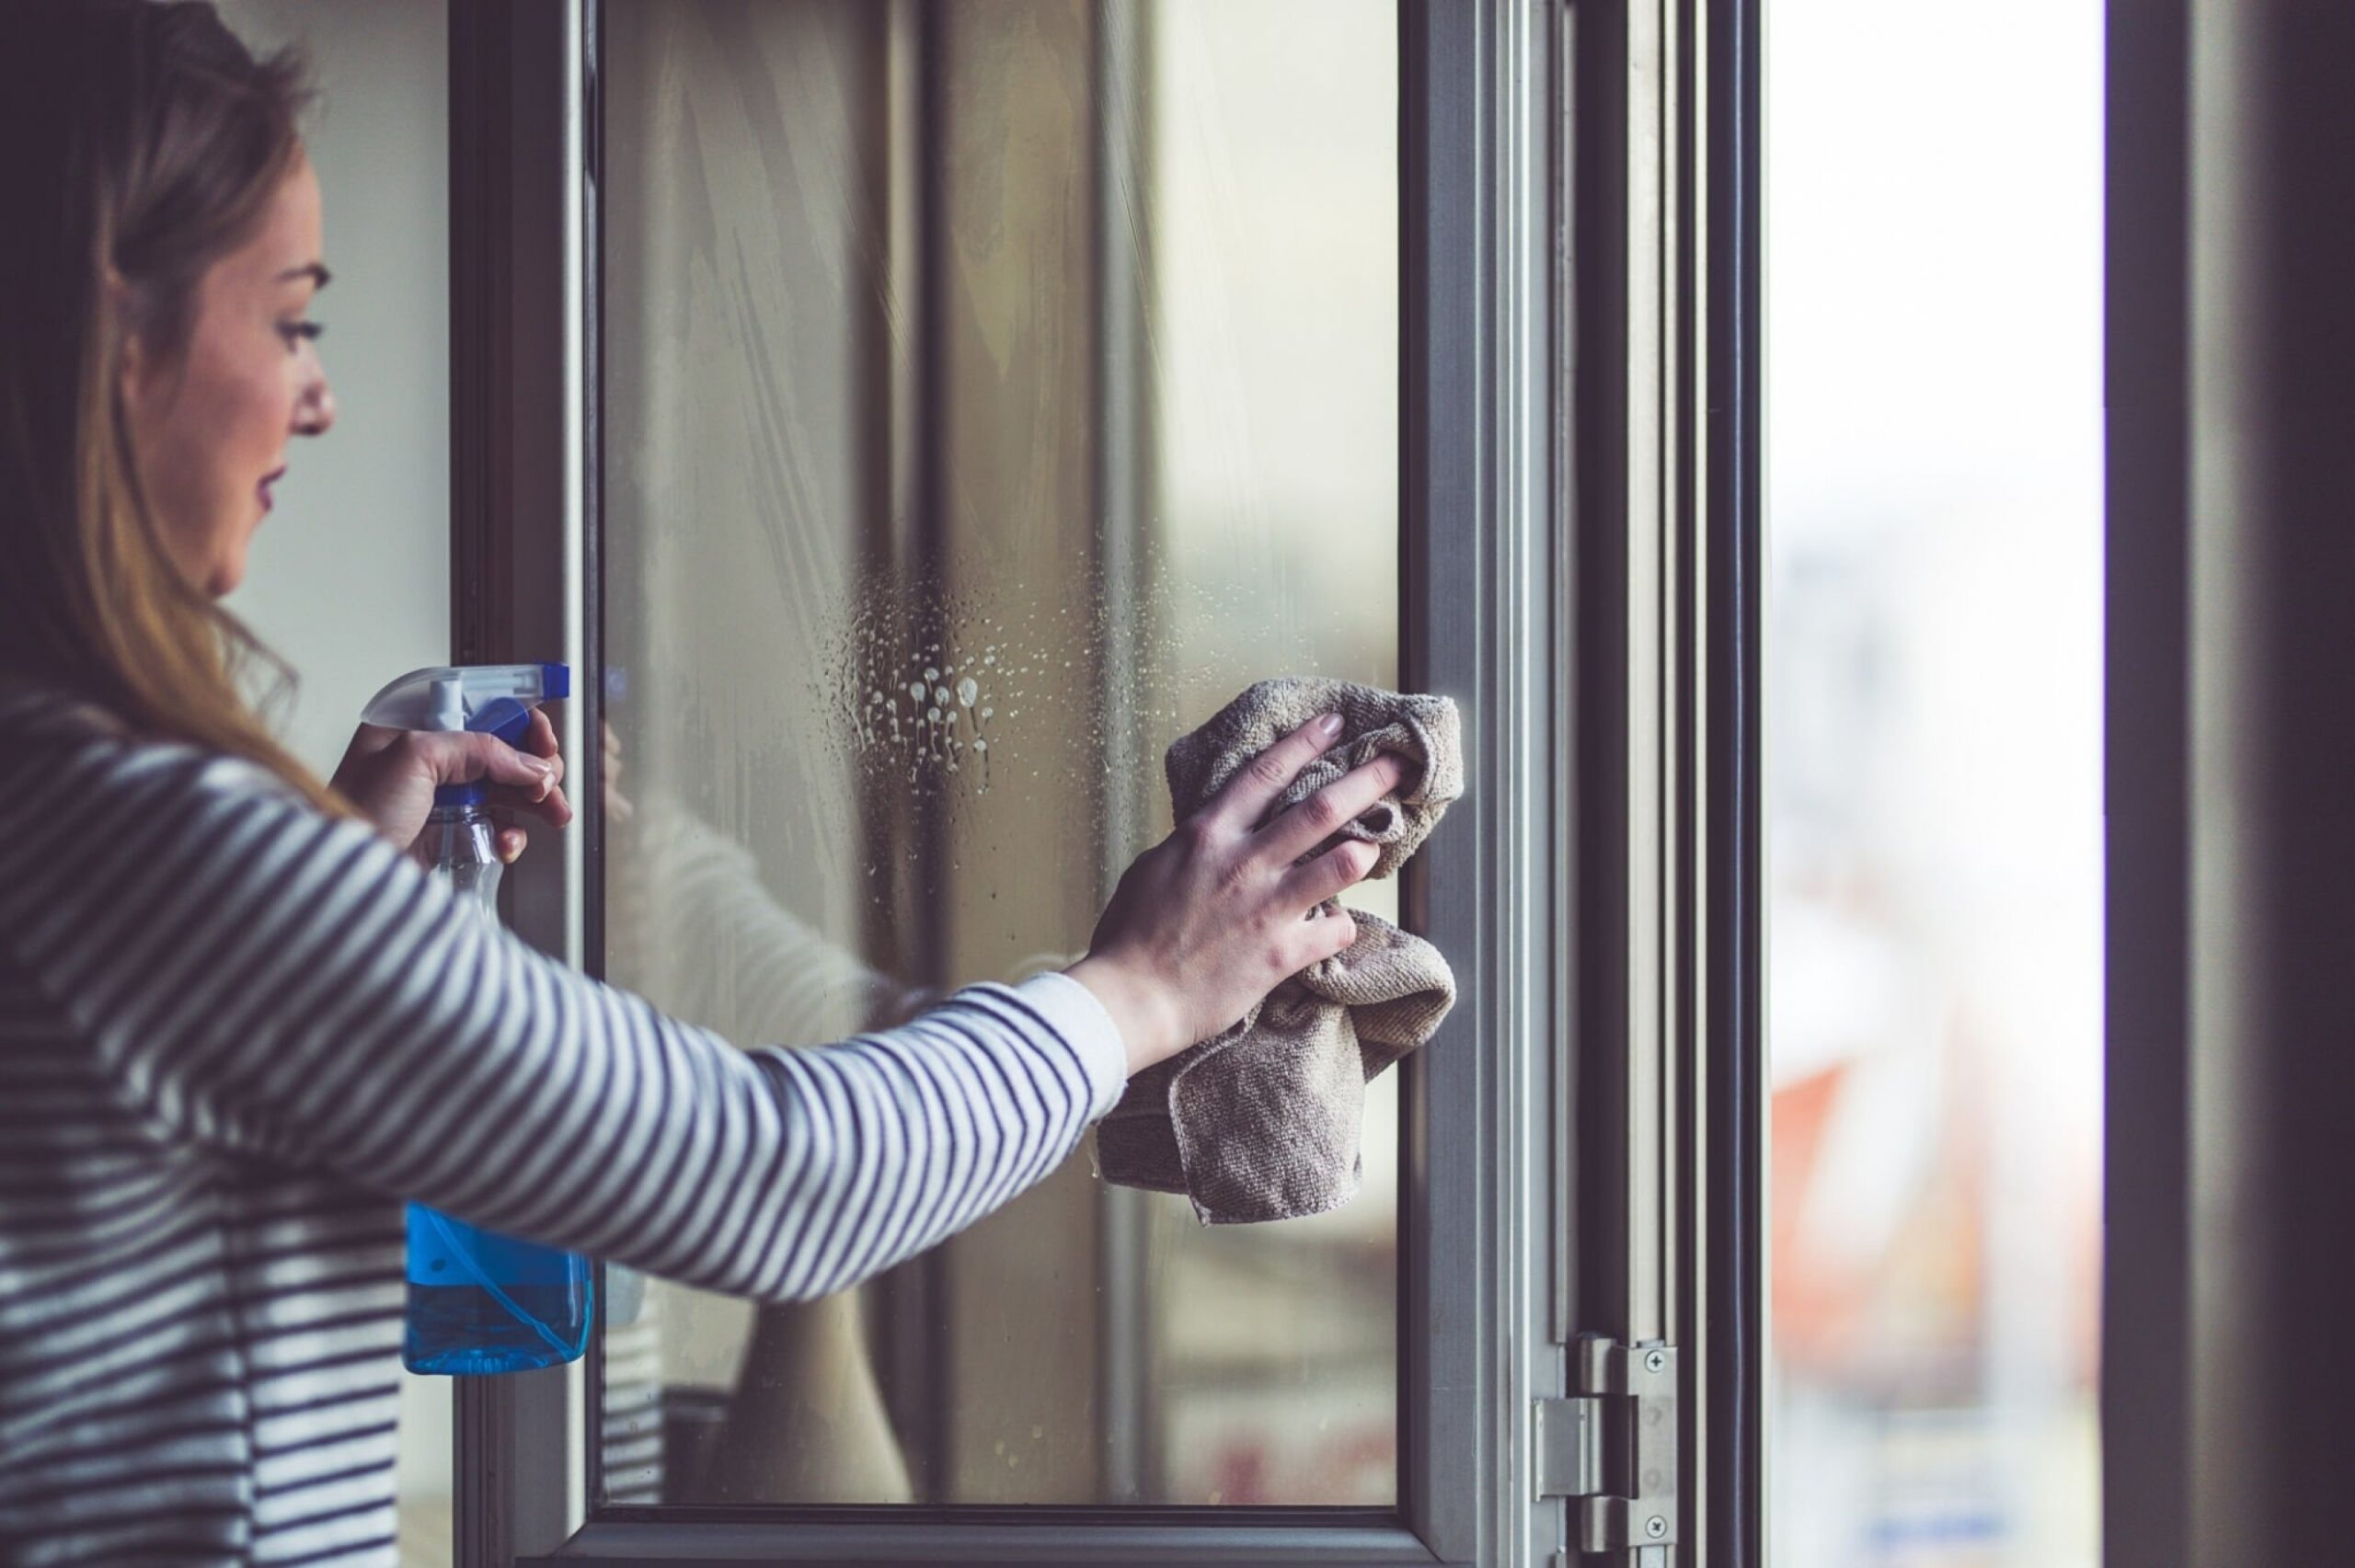
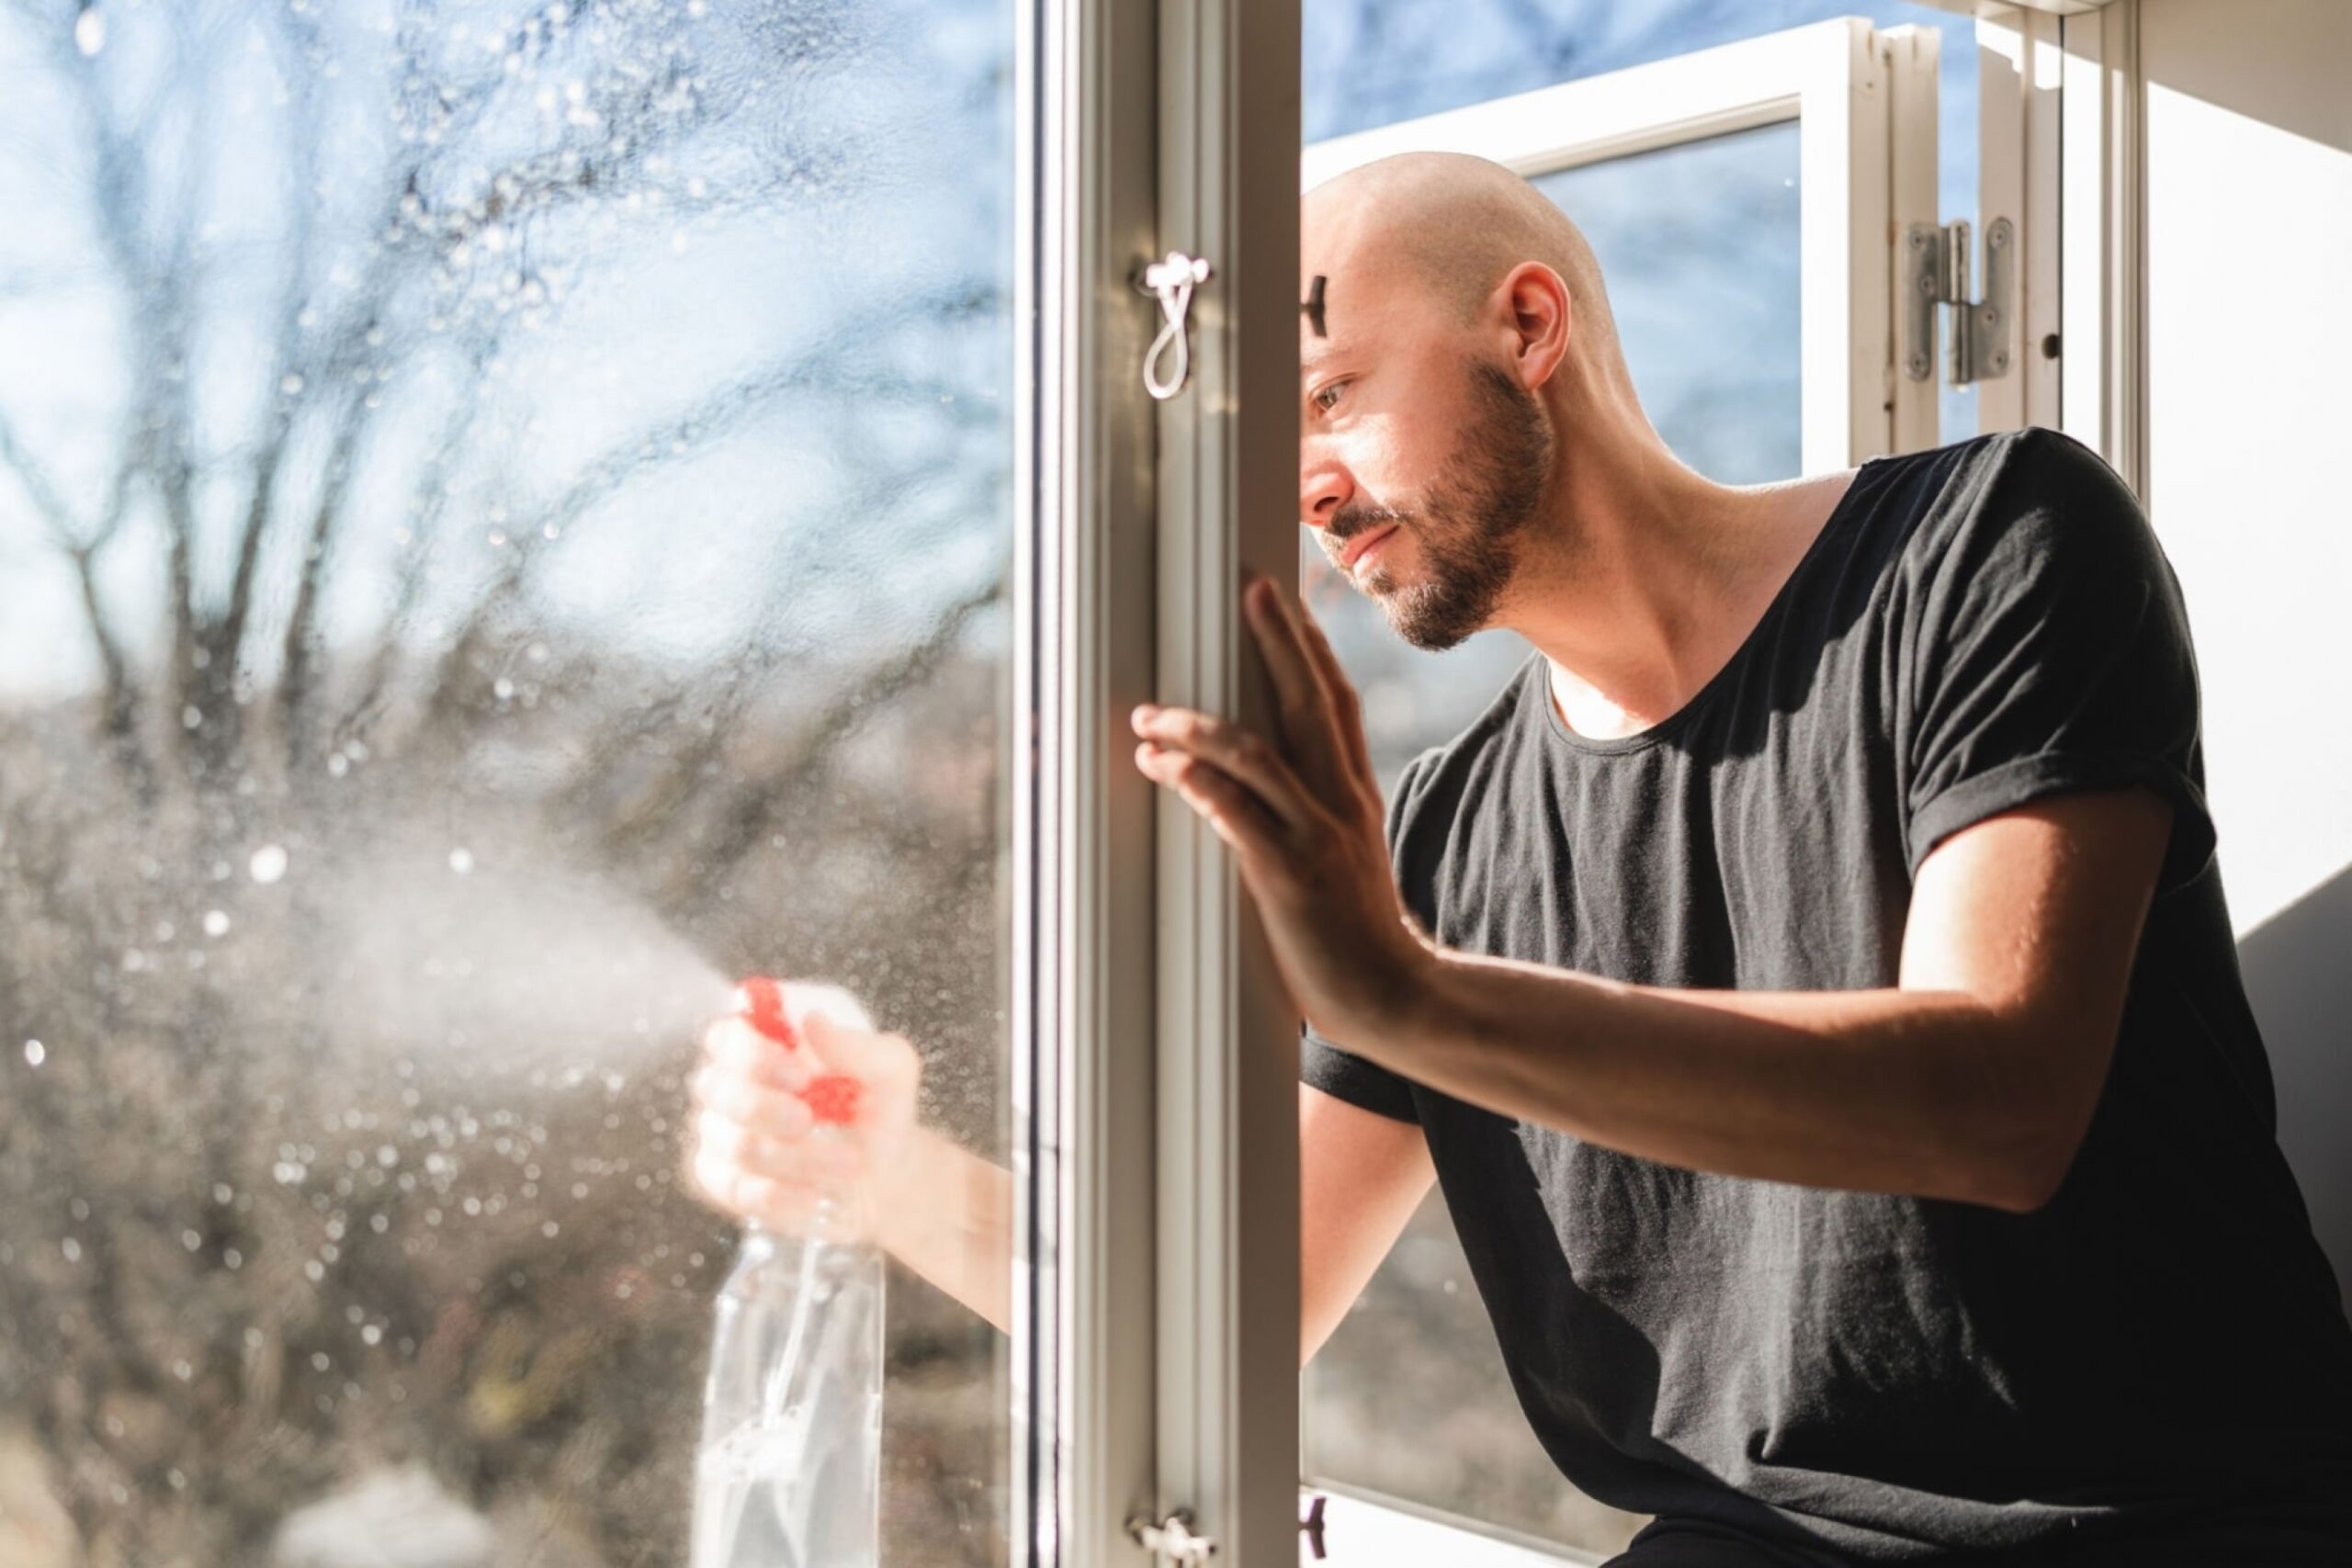
  • Using your chosen cleaning product or DIY solution, spray a small amount starting from the top of the window glass and moving down. (Note: Do your best to keep the cleaner away from surfaces that aren’t glass.)
  • Wipe the cleaner all around the glass with a dry microfiber cloth to clean the window using an S-motion to avoid the cleaner drying on the glass while you clean it.
  • Spray a small amount of cleaner on any stubborn areas of grease or grime around the window. Only use the cleaner in small amounts and do your best to not allow the cleaner to pool at the base of the window.
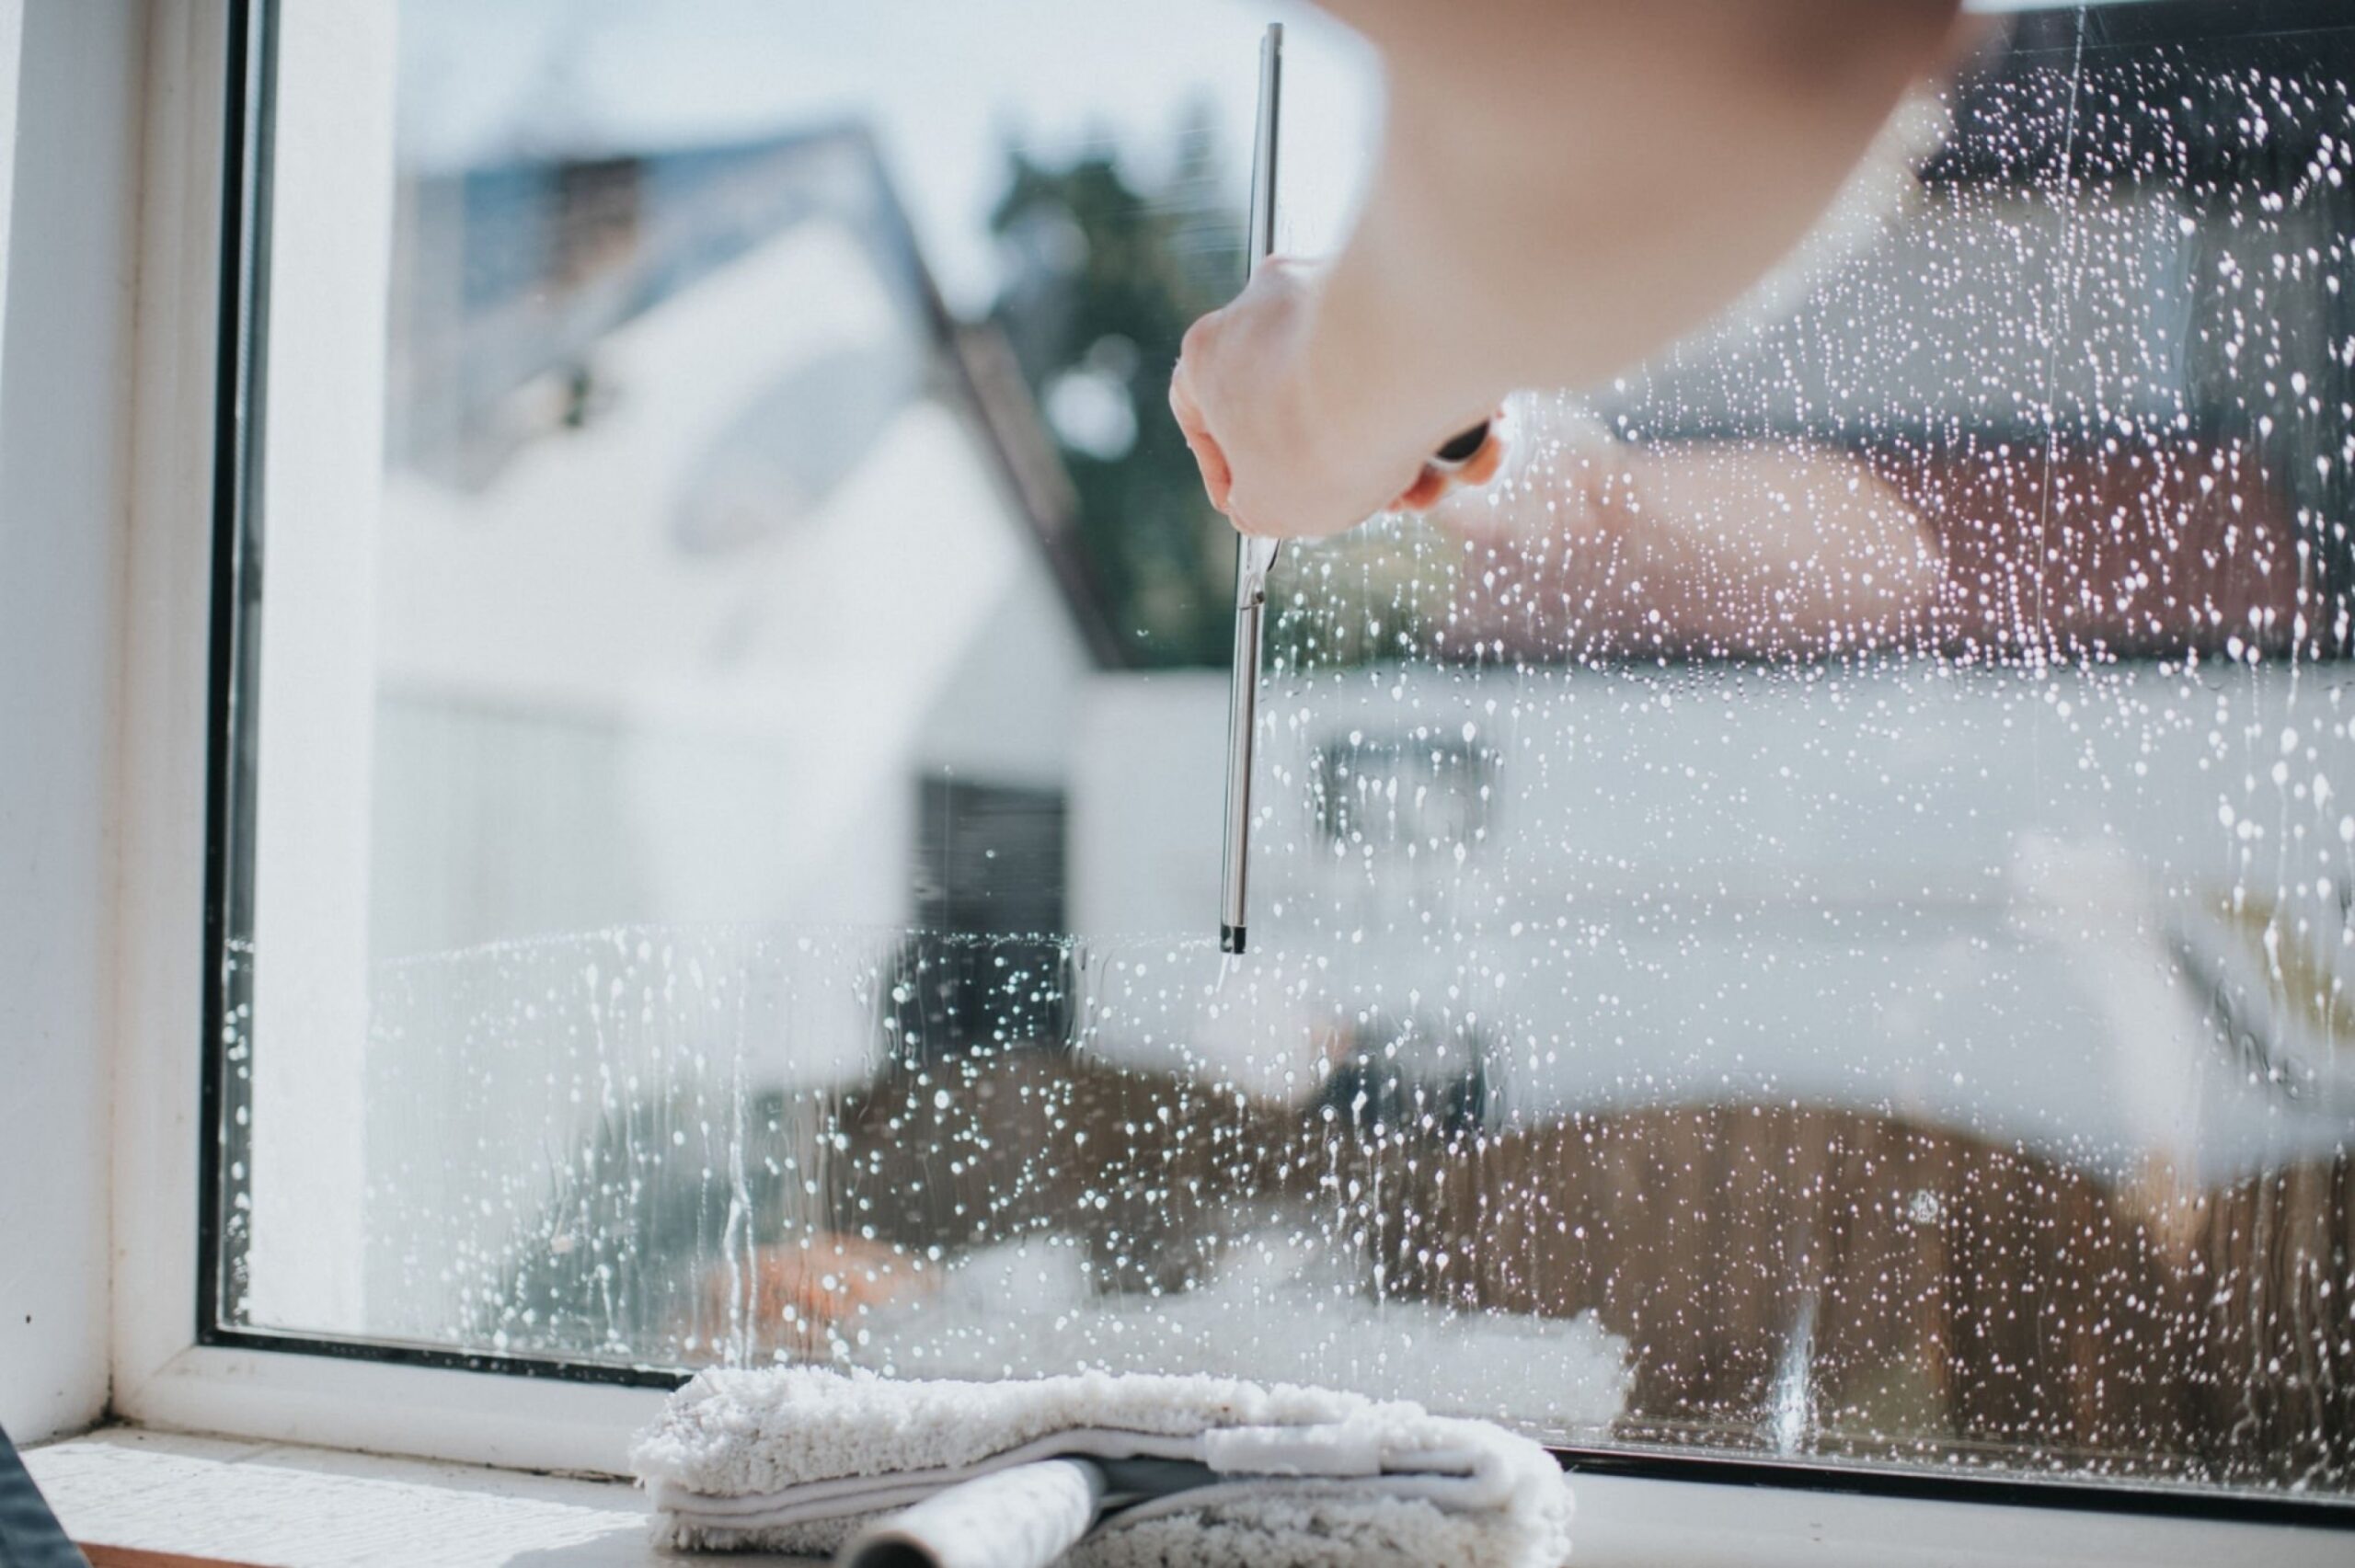
  • Using a fresh microfiber cloth or a squeegee, wipe away the remaining cleaner once the glass has been cleaned completely. If you are using a squeegee, make sure you keep the blade in contact with the glass to avoid leaving streaks and drips.
  • Check the glass for any streaks or stray marks. You can use a fresh microfiber towel to buff these from the surface of the glass for a shiny and streak-free finish.


Cleaning Outside


Once all of your windows are now shiny and clean on the inside, make sure they’re all closed because it’s time to shift your focus to the outside. For the best results when cleaning your windows from the outside, here is our go-to method:

  • Ensure that all windows are securely closed and surrounding areas inside are protected from potential leaks.
  • Use your garden hose to spray away the surface layers of dirt and grime that have accumulated.
  • To scrub and remove stubborn grime, we recommend using an extendable pole that you can attach microfiber cleaning cloths to. Climbing up and down a ladder to clean your windows is time-consuming and even dangerous especially if you are cleaning them on your own.
  •  Apply your cleaning solution to the cloth on the extendable pole to clean high-up and hard-to-reach windows. (Note: There are some hose-attachable window cleaners available to purchase, so you can look into one of those to shave off some time when cleaning.)
  • Rinse the cleaner away thoroughly with your hose.
  • Use a fresh microfiber cloth or extendable squeegee to dry the windows.


How Often to Clean Windows


A man Cleaning the windows at home


We know cleaning your windows can be a time-consuming chore to take on, especially when you’re cleaning both inside and out. Thankfully, you should only have to clean both sides of your windows about 2 or 3 times a year, depending on the environment where you live. Pollen levels, rainy weather, tree sap, and even birds can add to the debris that collects on and around your windows. Make sure to regularly check the state of your windows from the outside in order to stay on top of their cleanliness.


FAQ


What should you not do to clean windows?


When cleaning your windows, you should not use an ammonia-based cleaner and avoid cleaning them in direct sunlight as both of these can create excessive streaking and haze. You should also aim to use a squeegee when drying them and removing excess cleaner and water.


What causes windows to get dirty inside?


Windows can get dirty inside because of dust, grease, and other particulates that accumulate and stick to the glass. Windows in the kitchen are especially susceptible to grease build-up and can be particularly difficult and stubborn to clean.


Can vinegar damage glass windows?


Vinegar won’t damage and is completely safe to use on glass windows and mirrors. In fact, we encourage it! Just remember not to use vinegar to clean anything like electronics or stone such as granite and marble.


What do professional window cleaners use in their water?


Many professional window cleaners use purified and treated water, but they can also use simple cleaning agents like a few drops of dish soap in water. This solution is super simple but highly effective when cleaning windows, which is why we suggest trying it out for yourself.


What is the best time of day to clean windows?


Woman in kitchen opening the window


The best time of day to clean your windows is early in the morning before the sun is fully up so that it doesn’t hit your windows directly. You can also save window cleaning for an overcast day without rain, as long as there is no direct sunlight on your windows. This is because the sunlight can cause your cleaning solution and water to evaporate more quickly and leave water stains and streaks on the window while you clean.


Why do my windows look worse after cleaning?​​


Your windows can look worse than when you started often because of the amount of sunlight hitting them or even if you leave the solution for too long and it dries on the glass. Your home’s water can also be a contributing factor to streaks and haze as hard water leaves cloudy mineral deposits on most surfaces.


How do your windows look after cleaning then? What kind of cleaning tips and tricks do you use when cleaning your windows? Share your thoughts in the comments below, we love hearing from you! If your windows have become too much of a struggle to keep clean and shiny on a regular basis, don’t worry. You can check out cleanzen.com/philadelphia to find out what kind of services we offer that can help you keep your home looking its best.

The post The Ultimate Guide to Cleaning Your Windows appeared first on Cleanzen.

from Cleanzen https://cleanzen.com/blog/how-to-clean-windows/
via IFTTT

From https://cleanzencleaningservices00.blogspot.com/2023/02/the-ultimate-guide-to-cleaning-your.html

from
https://cleanzencleaningservices00.wordpress.com/2023/02/08/the-ultimate-guide-to-cleaning-your-windows/

from Kirstie Bravo https://kirstiebravo.blogspot.com/2023/02/the-ultimate-guide-to-cleaning-your.html
via IFTTT

from Kirstie Bravo https://kirstiebravo.wordpress.com/2023/02/09/the-ultimate-guide-to-cleaning-your-windows/
via IFTTT

from David Benedict https://davidbenedict0.blogspot.com/2023/02/the-ultimate-guide-to-cleaning-your.html
via IFTTT


from
https://davidbenedict0.wordpress.com/2023/02/09/the-ultimate-guide-to-cleaning-your-windows/

Wednesday, 1 February 2023

Safe and Natural DIY Drain Cleaners

Drains around the house can become clogged even with the most mundane usage, so it is a good idea to have a plan for declogging them. While drain cleaning and declogging products can be effective, they are also notorious for containing harmful chemicals. The best way to eliminate the risk to your home’s pipes and your own health is by using some of the most common household products available. Here is our guide to creating your own DIY drain cleaner.

Benefits of Natural Drain Cleaner


Woman standing in shower, cropped view of feet


If you’re a long-time user of commercial drain cleaners and decloggers, that’s perfectly fine, but you should be aware of the risks that come with these products. Most chemical cleaners contain sodium hydroxide or sulfuric acid, both of which are strong but damaging chemicals. Using cleaners containing these chemicals can cause your pipes to corrode, creating a very big and very expensive problem for you. To avoid causing a huge headache for your future self, consider switching to a natural and eco-friendly drain cleaner. These are safer to use around kids and pets AND they won’t break the bank, sounds like a pretty good deal to us! For more info, you can check out the FAQ below.


DIY Drain Solutions


Here is a list of our favorite DIY drain cleaners and solutions. They can all be made from regular household products or can be purchased for a reasonable price!


1. Soap & Hot Water

Hot water and dish soapThis is the most simple and straightforward method for declogging and degreasing your drain. All you will need for this is:

  • 2 tablespoons of dish soap
  • A pot of water

For this method, start by filling a pot with water and adding the dish soap. Boil the water and then immediately pour the hot soapy water down the drain. This method is great for greasy clogs or just for cleaning out your pipes after accidentally pouring fats or liquid grease down the drain. Remember to avoid this by allowing the grease or fat to cool before throwing it away, not pouring it down the drain.


2. Baking Soda & Vinegarvinegar and baking soda

All you’ll need for this DIY cleaner is:

  • ½ cup of baking soda
  • ½ cup of white vinegar
  • A pot of water

To use this solution, carefully pour the baking soda down the open drain. Next, you’ll want to pour the vinegar down the drain. Once the vinegar meets the baking soda the reaction will begin, so remember to cover the drain quickly. Let the baking soda and vinegar do their thing for about an hour, and boil a pot of water. Uncover the drain, and then flush the solution by pouring the boiling water down the drain. Note: You may need to repeat the process to fully clear the drain.


3. Baking Soda & Lemon Juice

This is a very similar process to the previous solution, but it smells way better! You’ll need:

  • ½ cup of baking soda
  • ½ cup of lemon juice
  • A pot of water

First, pour the baking soda down the drain then follow it with the lemon juice. Cover the drain and wait about an hour for the solution to work. Boil a pot of water and, after an hour, uncover the drain and pour the water. Repeat as needed.


4. Baking Soda & Salt

baking soda and salt

This particular method works best for a clog and works pretty well for degreasing the drain. For this you’ll need:

  • ½ cup of regular table salt
  • ½ cup of baking soda
  • A pot of water

This is an interesting solution as it uses 2 dry ingredients, but trust us on this. Start by pouring the salt down the clogged drain, and then follow with the baking soda. Allow this to work for a minimum of about 30 minutes, or overnight if you are dealing with a stubborn clog. After your desired waiting time, boil a pot of water and then pour the water directly down the drain. This should flush the drain, but if not you may need to consider using an alternative to aid the process.


5. Baking Soda, Salt, & Cream of Tartar

cream of tartar, baking soda and salt

For this DIY drain cleaner and declogger, you’ll be creating a dry powder. Here are the ingredients:

  • ½ cup baking soda
  • ½ cup regular table salt
  • 2 tablespoons of cream of tartar
  • A pot of water

Pour all of these ingredients into a sealable jar, cover it, and shake it to combine and mix everything together. This will create enough mix for 2 uses. Either pour or use a spoon to distribute half of this mix down the drain. Boil a pot of water and dump it down the drain after the mix. Once the water has been poured, allow the solution to work for about an hour. Once the full hour has passed, run the tap to clear the drain of any remaining solution. You can use the remaining dry mix if you need to further clear the drain.


6. Salt, Borax, & Vinegar

salt, borax and vinegar

This DIY solution is great for declogging, cleaning, and even deodorizing your drains as Borax is a great product with tons of uses. For this recipe, you’ll need:

  • ¼ cup of regular table salt
  • ¼ cup Borax
  • ½ cup of white vinegar
  • A pot of water

To start, pour the salt and then the Borax down the drain. Next, pour the vinegar steadily down the drain followed by a pot of boiling water. Allow this to sit in the drain for about an hour, or longer if the drain hasn’t fully cleared. You can clear and test the drain by running the hot water tap and rinsing any remaining bit of the solution. If the drain hasn’t fully cleared, you can try this method again.


FAQs


Does homemade drain cleaner work?


hrome bathroom tap over a white bathroom sink. Tap running.


Homemade drain cleaner works to remove almost all types of clogs. However, if you are unsure or have a particularly large or stubborn clog it is always in your best interest to consult a trustworthy plumber. Asking a professional before attempting to unclog a drain yourself can save you time and a plumbing bill.


What is the most natural way to clean your drain?


The most effective and natural way to clean your drain is with baking soda, vinegar, and hot water. This can help you clean and deodorize a clogged drain, but remember that you may have to resort to something stronger or call in a professional plumber if this doesn’t work.


Can homemade drain cleaner dissolve hair?


Loose hair in the sink drain in the bathroom


Baking soda and vinegar is the best homemade solution for removing hair clogs from drains. The key ingredient is baking soda, but you can also use a small amount of hydrogen peroxide to break down any large hairballs within the drain. Remember to flush the drain with hot water after using any homemade cleaners.


How often should you use drain cleaner?


You should use drain cleaner and or declogger at least once a month to prevent any buildup within your pipes. Whether you use a natural DIY cleaner or a commercial enzyme cleaner, be sure to always flush your drain with hot water after cleaning it.


When should you not use drain cleaner?


You should not use drain cleaner when you know your home has old or damaged plumbing and pipes. Prolonged use of chemical cleaners can lead to pretty extensive damage by corroding metal pipes and even warping plastic pipes. Make sure that if you have to use a cleaner with strong chemicals, you only use it once and immediately clear the pipes with hot water.


What happens if you don’t clean your drains?


Man plunging a blocked kitchen sink with a manual suction plunger.


Not cleaning your drains can cause large clogs and blockages within your pipes. Cleaning your drains also reduces bad smells, can improve water quality, and increases the life of your pipes saving you from the headache of having to call in a plumber to clear some nasty buildup.


Homemade drain cleaners are a great alternative to using harsh chemical cleaners that can damage your pipes. Even the simplest ingredients like baking soda, vinegar, and lemon juice can be highly effective when cutting through greasy clogs. In order to prevent any buildup or clogs within your drains and pipes, it is recommended that you flush your drains once a month with boiling water.


Do you have any DIY drain cleaners that you swear by? Tell us about your drain cleaning tips and tricks in the comments below, we love hearing from you! If you’re looking for a great cleaning service that can help you clean up around your home and even deep clean and sanitize around the kitchen and bathrooms, check out our website to book your cleaning services today. We offer a wide range of cleaning services and even offer eco-friendly services upon request.

The post Safe and Natural DIY Drain Cleaners appeared first on Cleanzen.

from Cleanzen https://cleanzen.com/blog/homemade-drain-cleaners/
via IFTTT

From https://cleanzencleaningservices00.blogspot.com/2023/02/safe-and-natural-diy-drain-cleaners.html

from
https://cleanzencleaningservices00.wordpress.com/2023/02/02/safe-and-natural-diy-drain-cleaners/

from Kirstie Bravo https://kirstiebravo.blogspot.com/2023/02/safe-and-natural-diy-drain-cleaners.html
via IFTTT

from Kirstie Bravo https://kirstiebravo.wordpress.com/2023/02/02/safe-and-natural-diy-drain-cleaners/
via IFTTT

from David Benedict https://davidbenedict0.blogspot.com/2023/02/safe-and-natural-diy-drain-cleaners.html
via IFTTT


from
https://davidbenedict0.wordpress.com/2023/02/02/safe-and-natural-diy-drain-cleaners/

Wednesday, 25 January 2023

20 Habits for a Clean Home

We all know or know someone whose home is always clean and put together as if they are always expecting important guests. If you’ve often wondered how they keep their homes in such a tidy state and how you can also achieve it, look no further. We’ve put together a list of some of the most trusted tips, tricks, and habits that tidy people swear by so that you can be in the know and get your home looking company-ready in no time.

Shoes Off in the House


One of the most common habits of people with super-clean homes is the adoption of a no-shoe rule, whether it is a cultural practice or not. Shoes can easily track in dirt, leaves, and other outside germs and mud that can make the home not only messy but smelly too. This is a common practice because it is simple and easy to maintain, all you have to do is remember to take your shoes off at the door.


Clean While Cooking


woman doing dishes and pots


A lot of homes and families follow the “you cook, I’ll clean” rule in their kitchens, and this is definitely a beneficial habit. However, what many families with clean homes will tell you is that they actually clean while they cook, not after. Cleaning while you cook is the best way to eliminate stubborn stuck-on food, and you won’t even have to let anything soak in the sink.


Eliminate Junk Drawers


The presence of junk drawers within the home is a clear sign of chaos, so it is best to eradicate them once and for all. Clearing junk drawers is a great way to make sure everything in the home has a place and a function. Take some time to pay attention to what is found within the junk drawers and be mindful of how everything fits into the home.


Make a List and Keep it Visible


Making a mental note of tasks to handle throughout the day is a good way to stay motivated when cleaning, but it is not always the most efficient. One way to aid this is by writing down the to-do list and keeping it visible to everyone in the home. When every task is visible and can be physically crossed off, it can be easier to keep everyone motivated and accountable when cleaning.


Make Every Bed Everyday


Woman Making The Bed In The Morning


Making the bed every morning, like the “no shoes” rule, is one of the simplest habits to start within a clean home. The bed is the centerpiece of every bedroom so when it looks tidy, the rest of the room will follow its lead. Starting each day with a freshly made bed can lead to higher productivity as well as a more restful sleep each night.


Do a Quarterly Deep Clean


Everyone knows spring cleaning is a good habit to live by, but what about winter, fall, and summer cleaning? One of the most effective habits within clean homes is a quarterly deep clean and decluttering, especially as the seasons change so that clothing and seasonal decorations can be reviewed. This is one of the best ways to keep clutter under control within the home.


Have Designated Zones


Clean homes with pets and children seem unattainable, and yet they are possible. The best way to maintain order in a home is by creating and outlining specific areas for specific people or activities. It would be smart to keep your pet’s leashes and care items in one place and organized so that everything is within reach. Similarly, keeping kids’ toys and games organized and within a designated area can be a great way to keep little ones accountable.


Stay Ahead of Laundry Piles


woman doing her laundry at home


While some homes with multiple family members can have laundry piling up on a daily basis, there are others that seem to always have neatly folded and fresh clothing at the ready. Daily or semi-daily laundry washes are a great way to keep clothes and linens fresh and organized around the home, as well as a good way to make sure the home always smells fresh.


Sweep, Vacuum, and Dust Daily


Floors easily accumulate dirt, dander, and debris throughout the week. By incorporating a regular sweeping, mopping, and vacuuming routine, the buildup is manageable. By having a regular dusting routine, there will be fewer allergens floating through the air of the home, making a noticeable impact on the overall health of family and pets. keeping the dust from Clean floors keep a home looking and feeling tidy and well-kept, so it is no secret that maintaining them can make a difference.


Choose One Room to Clean Each Week


Maintaining an already tidy home is far easier than maintaining a home that requires more extensive work. For homes that require that extra effort, a good way to get started with managing the mess is by choosing one room to focus on for the week. By fully decluttering and tidying the home room-by-room, the space can become both functional and easier to clean.


Keep Counters Clear


woman cleaning her house


Countertops and other flat surfaces around the home are like magnets for random clutter throughout the week. However, clean homes seem to always have perfectly clear and clutter-free surfaces. Ensuring that everything has a place within bathrooms and kitchens and also taking that extra 5 minutes during the day to put everything where it belongs can make a huge difference in daily cleaning within the home.


Clean Showers After Every Use


Another easy and simple task that can be done to keep a home clean is wiping down and cleaning the showers after using them. Showers can get surprisingly filthy after just a few uses and who feels as clean as they should after using a dirty tub or shower? After showering, using a squeegee to remove the water can minimize any hard water or soap stains from the walls, especially within glass showers. Having a simple cleaning solution on hand to use in the shower is also a good way to stay on top of any stains.


Master the Art of Multitasking


Cleaning, tidying, and decluttering can all be time-consuming tasks that can take up more time in the day than planned. One of the best ways to accomplish more while cleaning is by multitasking. Much like cleaning while cooking, vacuuming while laundry washes, or making phone calls while doing the dishes can allow for more to be accomplished during the day. Listening to a podcast or audiobook is also a great way to pass time while completing mundane and boring tasks.


Keep Windows and Mirrors Clean


woman cleaning window glass at home


Glass surfaces and windows are magnets for dust and fingerprints to accumulate on throughout the week. One of the hallmarks of a truly clean and tidy home is well-maintained and shiny windows and mirrors. Incorporating a regular cleaning and polishing routine for any and all glass and other shiny surfaces is a great way to keep the home looking and feeling bright and fresh.


Know When to Let Go


Regular decluttering is one of the more complicated habits of clean home keepers, however, it can be one of the most effective. One of the biggest problems a home can have is an overabundance of unnecessary stuff. Cabinets, pantries, closets, and spare rooms can be full of clutter and junk. Making a habit of making regular donations or second-hand shop sales is a good way to minimize the clutter around the home.


Get Everyone Involved


Homes with several family members have the benefit of divided tasks. When multiple people are available to tackle the regular cleaning routine, the whole job can be accomplished quickly and efficiently so that everyone can move on to personal projects within a freshly tidied space. Families that work together to tackle the cleaning projects around the home can improve relationships as well as build valuable skills in organization and efficiency when working as a team.


Invest in Effective Products and Tools


woman cleaning the curtain using vacuum


One of the best things about clean homes is the availability of high-quality cleaning tools and products. Investing in highly rated and efficient cleaning tools like high-end vacuums, carpet cleaners, and sweeper-mop devices can make a huge difference in the overall cleanliness of the home. Even investing in high-quality products can be the difference between having a streak-free mirror and not. Breaking the bank for top-rated cleaning supplies is not required, but budget options will not always garner the best results.


Keep Up with Grooming


Pets are considered beloved family members in most homes, so why not keep them just as clean and fresh as the rest of the family? Pets can bring in all kinds of dander and debris from their adventures outside, so a good habit to adopt in order to combat this is a regular grooming and care schedule. Don’t forget to brush and de-shed pets regularly to stay on top of dander around the home.


Disinfect Daily


Clean homes are often the healthiest homes, and that isn’t just because of eating or exercise habits. Homes that are tidy and clutter-free are easier to clean and keep clean, and this is especially true for surfaces and items that are used regularly. When everything is accessible, it is easier to disinfect and stop the spread of germs and bacteria around the home. A cleaner home is a great start to a healthier home.


Organize Behind Closed Doors


woman packing away clean laundry at home


Even when a home appears clean and tidy, there can be hidden messes behind any door. Closets, pantries, and even refrigerators are easy to forget when cleaning and organizing because there is less of a need to make them appear tidy. One of the best habits of people with clean homes is going beyond the visible elements of the home and making sure that every aspect of the space is functional and organized.


What are the Benefits of a Clean Home?


You now have an arsenal of helpful habits and tips to use in your own home’s routine, you might wonder why you should incorporate them. The benefits of a clean home are vast but here are just a few of the best reasons to keep your home as clean and tidy as possible:

  • Cleaner air and surfaces can minimize allergies as well as lessen the spread of harmful germs and bacteria around the home.
  • When the whole family works together to accomplish the cleaning goals around the house, you’ll notice how well everyone can get along and work as a team. By the time your home is clean, you’ll have more time and energy for your family and friends.
  • Clean and tidy surroundings are a guaranteed way to reduce stress and anxiety, who wouldn’t feel more relaxed in a clutter-free home?
  • When you’re less stressed, you’ll get better sleep and feel more rested and productive each morning.
  • The feeling of having accomplished something as huge as fully cleaning and completely decluttering your home is incomparable, so once it’s all done you’ll have a reason to celebrate and reward yourself.


kitchen countertop with bar stools


There is just one last secret to let you in on for keeping a clean home: You can ask for help when you need it. Hiring a cleaning service can take a huge weight off your shoulders especially if you find yourself without the time or energy to take on cleaning your home yourself. There is no harm or shame in calling in a professional service to help you deep clean or even get organized and declutter. Our team of friendly and professional cleaners are here to help you, so check out Cleanzen cleaning services in Miami. You can contact us to schedule a consultation or even just ask some questions, we would love to get you started on your home’s cleaning journey. What kind of tips and tricks do you use to keep your home clean and tidy? Share your secrets in the comments, we’d love to hear from you!

The post 20 Habits for a Clean Home appeared first on Cleanzen.

from Cleanzen https://cleanzen.com/blog/clean-home-habits/
via IFTTT

From https://cleanzencleaningservices00.blogspot.com/2023/01/20-habits-for-clean-home.html

from
https://cleanzencleaningservices00.wordpress.com/2023/01/25/20-habits-for-a-clean-home/

from Kirstie Bravo https://kirstiebravo.blogspot.com/2023/01/20-habits-for-clean-home.html
via IFTTT

from Kirstie Bravo https://kirstiebravo.wordpress.com/2023/01/25/20-habits-for-a-clean-home/
via IFTTT

from David Benedict https://davidbenedict0.blogspot.com/2023/01/20-habits-for-clean-home.html
via IFTTT


from
https://davidbenedict0.wordpress.com/2023/01/26/20-habits-for-a-clean-home/

Wednesday, 18 January 2023

Why Do Range Hood Filters Need to Be Cleaned?

Our kitchen’s range hood filter can often be forgotten during regular cleaning schedules. It happens to the best of us, don’t worry. With regular cleaning and just a few minutes out of your schedule, your range hood filter will not only look better but also be able to work properly and efficiently. Did you know that without running your rangehood properly, food debris, grease, and oils can build up on your counters, cabinets, and floors? Gross! Who wants all that around their food and family? Here is a helpful cleaning guide you can use the next time your range hood needs a good scrub.

How to Properly Clean Your Range Hood Filter


Range hood filters are pretty important to our kitchens and to our homes. While the fan is there to pull the cooking odors from the air, the filter is able to catch grease, smoke, and any harmful chemicals and remove them from the air. However, the filter can’t do its job properly or effectively if it becomes clogged with all that debris and build-up. If the air in your home and in your kitchen when you cook seems to linger and stay stagnant when you cook, even when the range hood fan is blowing, that’s a sign that the filter might be overdue for a good washing. An important thing to note is that a clogged and greasy range hood filter can more easily lead to a potential fire within the range hood and duct. Remember to check the state of your range hood’s filter often, so that your filter can do its job efficiently and keep the air around your kitchen clean and odor-free.


Getting Started


Dirty filter on the kitchen hood in the sink


Before you start, there are a few things you’ll want to gather the supplies you’ll need for cleaning the filter properly. While many of these items are optional, they will certainly come in handy for a few of our favorite cleaning methods. You’ll need the following:

  • Hot water
  • Degreasing dish soap (be sure that your soap doesn’t contain any harsh chemicals or bleach as these will damage the finish of the filter)
  • Baking soda (optional)
  • Ammonia (optional)
  • Sponge or scrub brush (don’t use anything course to prevent scratches)
  • Soft towel
  • Stainless steel cleaning spray or wipes (optional)

You’ll also need to know what kind of range hood filter you have so that it can be cleaned properly. One of the most common filters is a baffle filter which is usually made of stainless steel. Another popular filter style is a mesh filter, which can be stainless steel or aluminum. Both of these filters are safe to clean in the dishwasher. However, if you have a ductless range hood, you may have a charcoal range hood filter. These charcoal filters cannot be cleaned and must be replaced every 3 to 6 months, making them less cost-effective than the baffle or mesh style filters.


Many Ways to Clean


removing exhaust hood


Clean in the Dishwasher:
We mentioned that baffle and mesh filters can be cleaned in the dishwasher. While this is the most simple way to clean them, there is still a proper way to do so. Here is the best way to clean these filters using your dishwasher:

  • Remove the range hood filter and rinse it with warm water to loosen the grease.
  • Wipe off the filter before placing it on the bottom rack of your dishwasher.
  • Run a regular cleaning cycle and check the state of the filter following the end of the cycle.
  • Repeat the cleaning cycle if necessary. It is normal to have to run the cycle a few times to fully clean the filter.
  • Once the filter is clean, wipe it dry. If your filter is stainless steel, remember to wipe the filter following the grain so that you aren’t damaging the finish.

If your range hood is in need of some more intense cleaning and TLC, don’t stress. While this first method isn’t much, it will get you the results you’re looking for. Here are some more in-depth cleaning methods for cleaning your range hood filter:


Method 1:

  • Start by filling your sink halfway with hot water and a couple of drops of dish soap
  • Remove the filter from the range hood and place it in the sink
  • Allow the filter to soak in the hot soapy water for about 20 minutes, flip the filter if necessary halfway through
  • Use a sponge or scrub brush to lightly scrub away the loosened debris and grease clogs
  • Thoroughly rinse the filter with clean hot water so that there is no residue left over
  • Dry the filter completely with a soft towel before replacing the filter in the range hood


Method 2:

  • Fill your sink half full with the hottest water possible then add a few drops of dish soap as well as ½ cup of baking soda and mix it all thoroughly.
  • Remove the filter from your range hood and place it in the sink so that at least one side is completely submerged and allow the filter to soak for 10 to 15 minutes
  • Flip the filter if necessary and allow the other side to soak for another 10 or 15 minutes
  • Use the sponge or scrub brush to remove the grease and debris from both sides of the filter, and wear gloves so that your hands are protected from the hot water and metal.
  • Drain the sink and rinse the filter thoroughly with hot water to remove any remaining debris.
  • Use a soft towel to dry the filter thoroughly before placing the filter back in the range hood.


Method 3:

This method is best for mesh range hood filters, and filters that perhaps haven’t been cleaned very often in the past. As this method uses strong and odorous chemicals, be sure to use this method carefully and in a well-ventilated area away from children and pets, or even completely outside where it will not be disturbed.

  • Depending on the size of the filter, fill a sealable plastic bag or trash bag with a small amount of ammonia.
  • Remove the range hood filter carefully and place it into the ammonia-filled bag to soak.
  • Close the bag and allow the filter to soak in the ammonia for a few hours or overnight.
  • Open the bag after it has finished soaking and, keeping it away from your face and nose, remove the filter.
  • Rinse the filter thoroughly in the sink with warm water and use a microfiber towel to dry it
  • Allow the filter to dry completely before putting it back in the range hood


How to Degrease the Filter:

If you find your range hood to be particularly greasy and clogged, it can be a pain to clean it. Before you use any of the previous cleaning methods, try this quick and easy degreasing method:

  • Mix together a paste made from a ratio of 3 to 1 baking soda and water.
  • Set your range hood filter on a flat surface and apply a generous amount of the past to the surface, with heavier application on the greasiest spots.
  • Allow the paste to sit on the surface of the filter for around 20 to 25 minutes.
  • Wipe the paste from the range hood filter with a wet cloth and rinse it well.
  • Follow a regular cleaning process before rinsing and drying the filter as thoroughly as possible.

Remember to also take some time to clean the exterior of your range hood so that both the interior and exterior are spotless and ready for your next culinary creations.


How Often Do Filters Need Cleaning?


woman turning on the range hood


One of the most important things to remember is how often your range hood filter should be cleaned. The filter should be cleaned about once a month, especially if you use the range hood often during cooking or have been cooking particularly greasy or oily foods. The frequency of cleaning will almost certainly vary between households, so be sure to check the state of your filter more often. If your range hood uses a charcoal filter, remember that it should be replaced every 4 or 5 months, or after about 120 hours of cooking. One tip we often share is to deep clean your range hood filter, no matter what state it may be in, right before preparing any large meals like holidays or parties. This way you’ll have the best results with your meal, and no unpleasant lingering odors disturb guests.


Have you used any of these tips to clean your range hood filter? What kind of tips and tricks can you share that have worked for you? Tell us in the comments, we love hearing from our customers. Do you need a little extra help around the house? Check out our official site to find out how we can help you. We’re more than happy to help you keep your home looking clean and tidy. Contact us today!

The post Why Do Range Hood Filters Need to Be Cleaned? appeared first on Cleanzen.

from Cleanzen https://cleanzen.com/blog/how-to-clean-range-hood-filter/
via IFTTT

From https://cleanzencleaningservices00.blogspot.com/2023/01/why-do-range-hood-filters-need-to-be.html

from
https://cleanzencleaningservices00.wordpress.com/2023/01/18/why-do-range-hood-filters-need-to-be-cleaned/

from Kirstie Bravo https://kirstiebravo.blogspot.com/2023/01/why-do-range-hood-filters-need-to-be.html
via IFTTT

from Kirstie Bravo https://kirstiebravo.wordpress.com/2023/01/18/why-do-range-hood-filters-need-to-be-cleaned/
via IFTTT

from David Benedict https://davidbenedict0.blogspot.com/2023/01/why-do-range-hood-filters-need-to-be.html
via IFTTT


from
https://davidbenedict0.wordpress.com/2023/01/19/why-do-range-hood-filters-need-to-be-cleaned/

Wednesday, 4 January 2023

The Ultimate Checklist for Cleaning the Kitchen

Keeping your kitchen clean is a job that can seem overwhelming if not kept up with. Clutter can easily overrun your counters and your dishes can pile up in the sink and begin to smell if not dealt with soon enough. The last thing you want to see in your kitchen while you cook is flies or other bugs around your food. To help you stay motivated and accountable when cleaning your kitchen here is a handy checklist you can follow and incorporate into your regular cleaning schedule.

Why is A Clean Kitchen So Important?


Asian couple family washing dishes together at kitchen


Keeping your kitchen clean and tidy can be a constant battle and it can be discouraging to see it in a poor state before cleaning. So why should you keep up with cleaning it regularly if it’s such an uncomfortable task? Consider all the grease and grime built up around your sink, oven, and microwave, and think about how much bacteria and germs can build up on these surfaces. Cooking surfaces need to be kept clean and disinfected on a regular basis in order to avoid spreading those germs and bacteria to your and your loved ones’ food. On top of this, remember that your kitchen is the center of your home. A clean and tidy kitchen can easily motivate you to keep the rest of your home looking just as well-kept and inviting.


Start With The Daily Basics


Shot of a little girl and her father enjoying their chores at home


There are a handful of cleaning tasks you can complete daily in order to stay on top of any basic messes and clutter. Daily cleaning can keep you and your family motivated to keep the rest of the home clean as well. Here are the daily cleaning tasks:

  • Wipe down your counters and stovetop
  • Sweep the floors free of crumbs and debris
  • Do the dishes and put them away
  • Clean the sink of any food debris
  • Put everything where it is meant to be
  • Disinfect high-touch surfaces


The Weekly Nitty Gritty


Young female cleaning the floor in the kitchen


Once a week, you can tackle a set of more thorough tasks so that you have a fresh start before each week. These won’t need to be done more than once or twice each week but they can make a huge difference. Here are your weekly cleaning tasks :


Deep Clean Monthly


Young woman cleaning oven in the kitchen


Each month, make sure you complete the more tedious tasks so that there is no buildup or clutter left around the kitchen. While these tasks may take longer, you’ll only need to complete them every few weeks to keep your kitchen looking good. Here are the monthly tasks you should accomplish:

  • Check your pantry for expired foods
  • Clean appliance interiors
  • Sanitize the sponges
  • Dust above the cabinets and refrigerator
  • Declutter your refrigerator and freezer
  • Clean and sanitize the trash bin
  • Clean the dishwasher
  • Clean your coffee maker
  • Wash any rugs
  • Clean the interior of your refrigerator
  • Declutter your pots, pans, dishes, cups, and Tupperware


Between The Cleaning


Caring Housewife Wiping Spilled Coffee or Crumbs from a Wooden Kitchen Table.


Our kitchens are the heart of our homes and one of the most used spaces during our daily lives. It is important to keep yours tidy and welcoming each time you use it. As you check your tasks off each day, you’ll start to notice how much a little cleaning can go a long way. In order to best stay ahead of your more tedious and time-consuming tasks, here are a few tips and tricks for managing messes:

  • Have a visual checklist to keep track of completed tasks and stay motivated to keep your space free of germs and food crumbs.
  • Make sure to thoroughly clean up any spills so that there’s no sticky residue left behind for you to deal with later.
  • When you declutter your pantry, refrigerator, and freezer make sure that you remove everything so that you can fully assess what needs to be thrown out, what you have, and what you need.
  • Keep your multipurpose cleaner in an easily accessible place so that you can get to it quickly.
  • Sweep after each meal so that you always start fresh.
  • If you live with your family, delegate some of the more time-consuming tasks so that everyone can help keep the kitchen tidy.

What does your kitchen look like after keeping up with this checklist? Do you have any tasks you added to your checklist? Tell us about them in the comments! If you’ve been struggling to keep your kitchen tidy, but can’t seem to find the time you need to clean up during your week, that’s okay. We’re here to help. Our house cleaners Houston have a variety of services that can help you whip your kitchen into shape and keep it that way. Contact us today to find out how we can help you get your home looking and feeling its best!

The post The Ultimate Checklist for Cleaning the Kitchen appeared first on Cleanzen.

from Cleanzen https://cleanzen.com/blog/kitchen-cleaning-checklist/
via IFTTT

From https://cleanzencleaningservices00.blogspot.com/2023/01/the-ultimate-checklist-for-cleaning.html

from
https://cleanzencleaningservices00.wordpress.com/2023/01/05/the-ultimate-checklist-for-cleaning-the-kitchen/

from Kirstie Bravo https://kirstiebravo.blogspot.com/2023/01/the-ultimate-checklist-for-cleaning.html
via IFTTT

from Kirstie Bravo https://kirstiebravo.wordpress.com/2023/01/05/the-ultimate-checklist-for-cleaning-the-kitchen/
via IFTTT

from David Benedict https://davidbenedict0.blogspot.com/2023/01/the-ultimate-checklist-for-cleaning.html
via IFTTT


from
https://davidbenedict0.wordpress.com/2023/01/05/the-ultimate-checklist-for-cleaning-the-kitchen/

Wednesday, 28 December 2022

Smart Ways to Keep Your Small Apartment Organized

Small apartments can be really difficult to keep tidy and organized, especially when there is very little storage available. Here are a few ways you can maximize storage in your minimally sized living space.

Kitchen


Peg board with napkin, bottle of oil and spatulas on kitchen counter


  • Collapsable Drying Rack: Keeping a drying rack on your kitchen counter at all times minimizes the amount of space you have to use when cooking. Consider looking for a collapsable or roll-up drying rack that you can tuck under the counter when you’re not using it to save space.
  • Thin-Space Rolling Cart: You’ll want to utilize as much space in your kitsch as possible, including any space between cabinets and appliances or walls. There are rolling carts that fit in these tight spaces that can be perfect for extra storage outside of cabinets.
  • Magnetic Storage on the Fridge: The space on your fridge usually reserved for decorative magnets can easily turn into a storage solution with the right products. Check out some magnetic shelving or bins to put on the side of your refrigerator if it isn’t against the wall.
  • Mounted Peg Board Storage: If cabinets and drawers are unavailable for storage, look to the walls for some extra space. You can mount a peg board and keep your favorite pots and pans readily available but out of the way.


Bathroom


Shelving unit with different items in bathroom


  • Wall-Mounted Storage/ Medicine Cabinets: If your bathroom is lacking in under-the-sink storage and counter space, try adding your own storage. Adding a medicine cabinet or shelves by the sink and over the toilet is a great way to maximize the vertical space in the bathroom.
  • Stackable Drawers/ Bins Under the Sink: The space under the bathroom sink shouldn’t be overlooked. Picking up some functional drawers or stackable bins to keep in this area can save you some much-needed counter space.
  • Shower Shelves/ Caddies: We all need our go-to shower products accessible for daily use. There are a lot of different in-shower storage options to choose from including caddies, shelves, and even shower liners with pockets.
  • Mounted Hooks for Towels: Towel racks are often unavailable in smaller apartments, but you won’t want to mount one only to have it take up more space than you can spare in the bathroom. Mounting some hooks near the shower or on the bathroom door to hang your towels is a great way to save wall space for more functional storage.


Bedroom


Sofa that Converts to Bed


  • Murphy Bed: These are a great way to maximize the space in your bedroom, especially if you happen to live in an open studio-style apartment. Folding your bed away to make room for a desk or dining table is a cool way to keep your space functional and clutter-free.
  • Under-the-Bed Storage: If a Murphy bed is too much of an investment for a temporary living situation, make sure you still make the most of the space you have. Under-the-bed storage drawers or bins are a great way to keep clutter off the floor and make room in the closet for seasonal clothing.
  • Over-the-Door Closet Storage: If your closet has become overrun with shoes or bags, it may be time to look into some storage options. Over-the-door hooks or caddies are a smart way to keep shoes or other accessories organized and out of the way.
  • Uniform Hangers: If your closet contains a multitude of mismatched hangers, switching them out for a full set of uniform hangers can make a huge difference. For smaller closets, you can even find sets of stackable hangers to minimize the space your clothing takes up on the racks.


Living Room

Grey corner couch bed with storage

  • Wall-Mounted Storage Shelves: As with all small spaces, vertical storage is a must. We highly recommend investing in some sturdy and stylish shelving for your living room if you find yourself searching for space.
  • Multi-Functional Storage Furniture: Sofas, coffee tables, and entertainment centers can take up tons of space in any living room. Make the most of these huge pieces by finding furniture with built-in storage solutions so you can keep extra blankets and board games tucked away for future use.
  • Cabinets/ Hidden Storage Spaces: If your living room has the space, consider adding some storage cabinets or drawers. Having stylish but functional storage to keep things hidden and tidy can both elevate the appearance of the space and give you more storage for organization.
  • Coordinated Storage Decor: Having a random assortment of bins that are different colors and sizes can make a space look and feel more cluttered than it is. A uniformly sized and color-coordinated set of bins can keep things organized and look great in an open storage space.

How have you kept your small apartment organized? Tell us in the comments and share your tips and tricks! If you need some help decluttering your small space, check out our Home Organization services at www.cleanzen.com/Philadelphia. We have a variety of services for any of your cleaning or tidying needs.

The post Smart Ways to Keep Your Small Apartment Organized appeared first on Cleanzen.

from Cleanzen https://cleanzen.com/blog/smart-ways-to-keep-your-small-apartment-organized/
via IFTTT

From https://cleanzencleaningservices00.blogspot.com/2022/12/smart-ways-to-keep-your-small-apartment.html

from
https://cleanzencleaningservices00.wordpress.com/2022/12/28/smart-ways-to-keep-your-small-apartment-organized/

from Kirstie Bravo https://kirstiebravo.blogspot.com/2022/12/smart-ways-to-keep-your-small-apartment.html
via IFTTT

from Kirstie Bravo https://kirstiebravo.wordpress.com/2022/12/29/smart-ways-to-keep-your-small-apartment-organized/
via IFTTT

from David Benedict https://davidbenedict0.blogspot.com/2022/12/smart-ways-to-keep-your-small-apartment.html
via IFTTT


from
https://davidbenedict0.wordpress.com/2022/12/29/smart-ways-to-keep-your-small-apartment-organized/

Wednesday, 21 December 2022

20 Cleaning Products to Keep in Your Home

Here is a helpful list of cleaning tools and products to keep in your home for all your regular cleaning projects.

Cleaning Tools


  • A Dependable Vacuum


Vacuum Cleaner


Vacuums are absolutely a must-have in every home. There’s no telling what kind of messes you’ll need to clean up around the house each week, so having a good and dependable vacuum at the ready is always a good idea.

  • A Mop

Like vacuums, mops are a key necessity in most homes. There are a variety of mops available in most department stores, so be sure to choose one that can keep up with you and your home’s needs.

  • A Duster Stick

Dust brush
Dusting is no one’s favorite task, but it can be highly satisfying. Find a dusting wand that can extend for those hard-to-reach places around the house, and make sure you choose one that can trap and hold the dust so that you’re removing it and not just pushing it around.

  • A Toilet Brush

White toilet brush

A toilet brush is easily one of the most basic cleaning tools to have in your home. Who wants to stick their hands in a dirty toilet to clean with a sponge when you have a long-handled scrub brush designed for the job?

Microfiber cloths are great for cleaning up wet messes, polishing mirrors and other glass surfaces, and even dusting. They are also a great way to minimize paper towel use since you can just toss them in the washing machine when you’re done.

  • A Broom and Dustpan

Dustpan and brush

For all those crumbs that seem to accumulate around the kitchen and the dirt and leaves that find their way inside the front door, the classic and trusty broom and dustpan cover it all. Such a simple tool should be a no-brainer staple in every home.

  • Some Scrub Brushes

Scrub brushes are a great way to break up tough grease and grime in the kitchen, scrub stubborn stains from carpets, and remove hard water and soap scum from tubs and showers. You can easily pick up a few of these and keep one with your kitchen supplies and your bathroom supplies.

  • Rubber Gloves

rubber cleaning gloves

For those of us who don’t enjoy touching the dirty surfaces and crevices around the house with our bare hands, rubber gloves are a lifesaver. You can grab a pack of those classic yellow rubber gloves from almost any store and keep your hands clean and protected while you handle chemical cleaners and grimey messes.


Essential Cleaners
Household Cleaning Supplies

  • Multi-Surface Cleaner

Multi-surface spray or wipes are a handy product to keep in your home for everyday messes and sticky spills. This is also a great way to minimize the number of products you use in your home and there are a ton of kid and pet-safe brands you can choose from to keep everyone in your home happy and healthy.

  • White Vinegar

White vinegar is one of the most versatile products for cleaning around the house and you can find it almost anywhere. It may be smelly, but it’s great for a huge number of cleaning projects and is safe to use around kids and pets.

  • Toilet Bowl Cleaner

Keeping your toilets clean and disinfected regularly is important for the health and well-being of your home, so make sure you have a good toilet bowl cleaner. One good way to stay ahead and spend less in the long run is by buying these in a multi-pack, which is available in most stores.

  • Glass Cleaner

Bottle of window cleaner

Everyone has mirrors and windows in their homes, and the best way to keep them shiny and clean is with a highly trusted glass cleaning spray. Using your glass cleaner with your microfiber cloths is guaranteed to leave you with a streak-free finish.

  • Floor Cleaner

For homes with hardwood, tile, and linoleum, having a good floor cleaner on hand is always a good idea to stay on top of any mud or sticky spills on the floor. Clean and shiny floors are key to having a great-looking house for you and your guests.

  • Disinfecting Spray

Disinfecting the high-touch surfaces in your home is the best way to keep you and your family healthy, especially during cold and flu seasons. We highly recommended having a good disinfectant spray or wipes on hand at all times.

  • Baking Soda

A bag of Baking Soda on white background

Baking soda, like white vinegar, is a versatile and effective product to use when cleaning around the house. There are a ton of ways to use it, but one of the best is as a super efficient carpet deodorizer.

  • Stain Remover

No home is safe from an accidental stain here and there on carpets and furniture, so it’s smart to have a stain-removing spray on hand for those emergencies. Be sure to check that is safe for your furniture before buying any spray.


What are your favorite cleaning tools and products? Let us know in the comments! For more cleaning tips and tricks, check out our website at www.cleanzen.com to find our blog.

The post 20 Cleaning Products to Keep in Your Home appeared first on Cleanzen.

from Cleanzen https://cleanzen.com/blog/20-cleaning-products-to-keep-in-your-home/
via IFTTT

From https://cleanzencleaningservices00.blogspot.com/2022/12/20-cleaning-products-to-keep-in-your.html

from
https://cleanzencleaningservices00.wordpress.com/2022/12/22/20-cleaning-products-to-keep-in-your-home/

from Kirstie Bravo https://kirstiebravo.blogspot.com/2022/12/20-cleaning-products-to-keep-in-your.html
via IFTTT

from Kirstie Bravo https://kirstiebravo.wordpress.com/2022/12/22/20-cleaning-products-to-keep-in-your-home/
via IFTTT

from David Benedict https://davidbenedict0.blogspot.com/2022/12/20-cleaning-products-to-keep-in-your.html
via IFTTT


from
https://davidbenedict0.wordpress.com/2022/12/22/20-cleaning-products-to-keep-in-your-home/

Oven Cleaning Hacks That Actually Work (It’s SO Easy!)

  Cleaning the oven is pretty much nobody’s favorite task on their cleaning list. The bad news, however, is that the more it gets put off,...